Symphon-E App ASKOMA
1. Introduction
Dear customer,
Thank you for choosing the "Symphon-E App ASKOMA". You are welcome to send us your suggestions so that we can further improve the quality of our products.
2. Installation of the Symphon-E App ASKOMA
-
Use these instructions to grant EMS write access to ASKOMA products.
-
For general instructions on how to install a Symphon-E App, cf. AppCenter documentation.
-
Launch the Heckert Solar App.
|
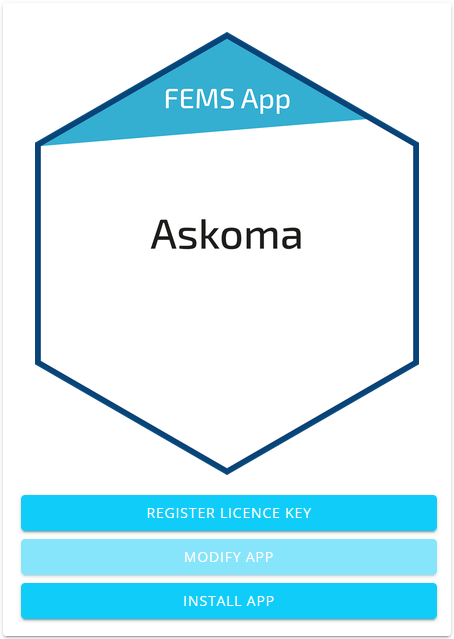
Select Symphon-E App ASKOMA in the AppCenter. |
|
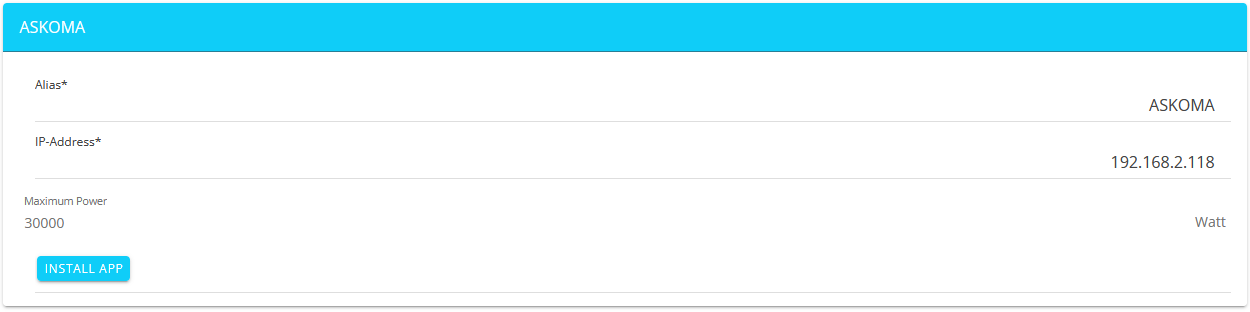
Complete the installation by clicking INSTALL APP. |
2.1. IP address of the ASKOMA product
Find the IP address of your router’s web interface, provided that the router is on the same network as the ASKOMA product.
2.2. Configuration of the heating element
-
Follow the ASKOMA operating instructions ASKOHEAT+ .
-
Use the QUICK SETUP.
-
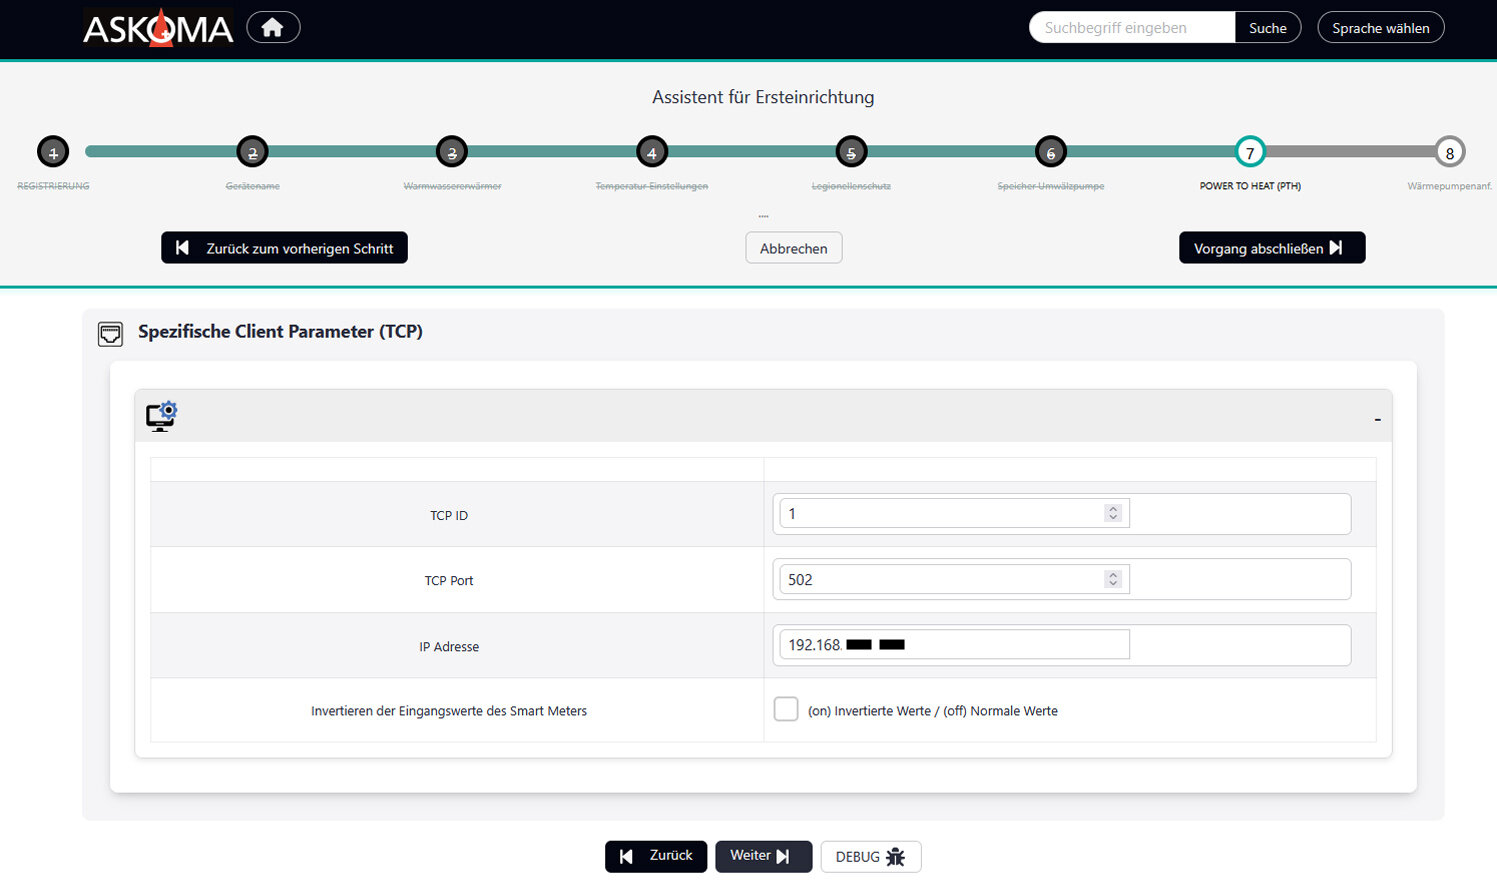
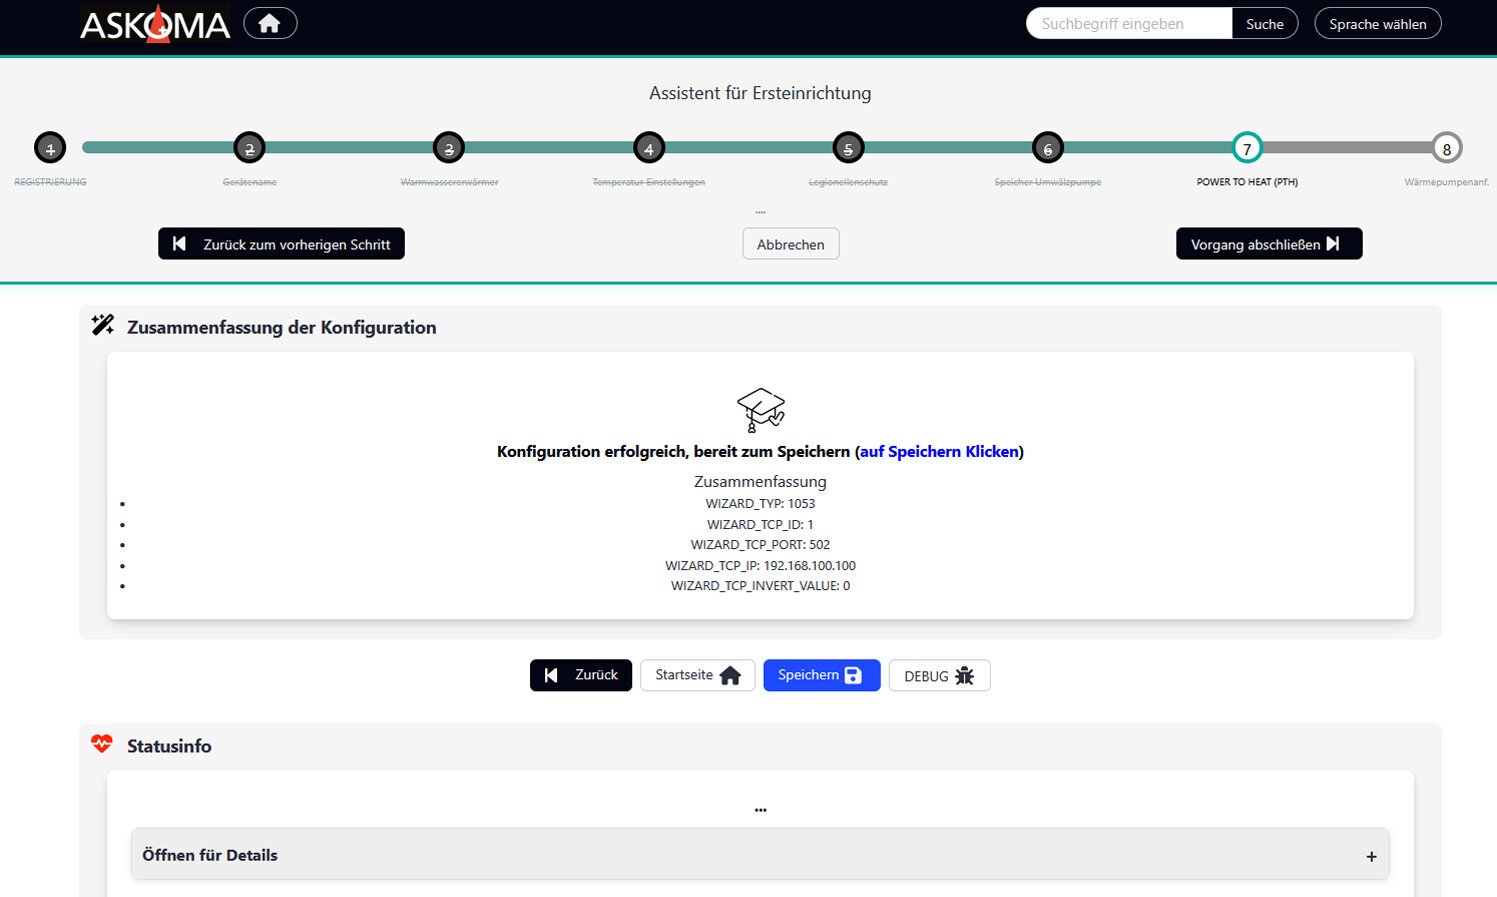
As soon as you have reached point 7 (PTH) of the wizard, continue as follows:
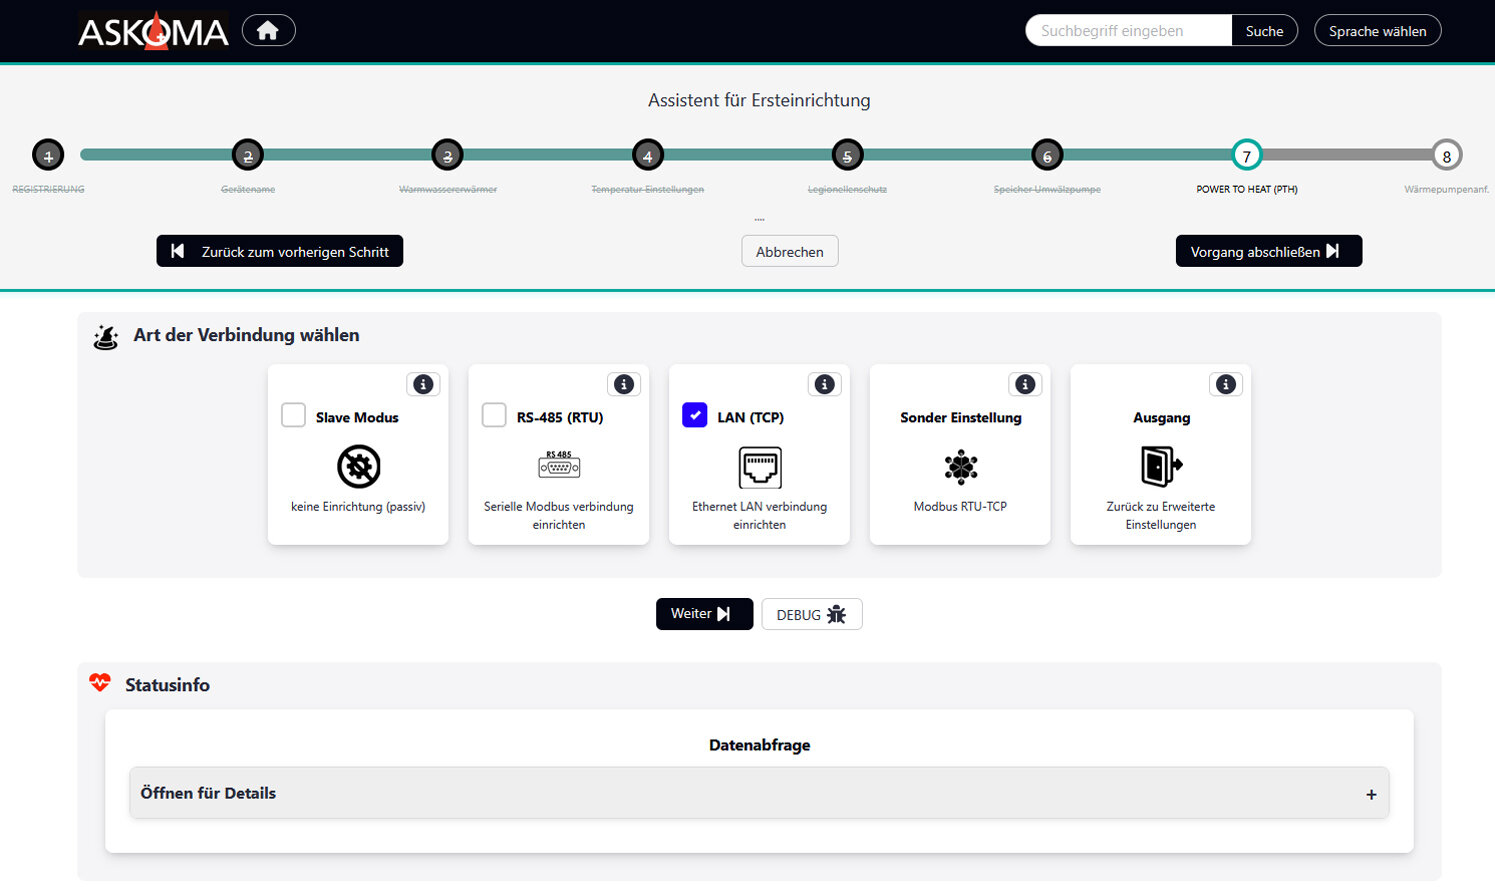
|
|
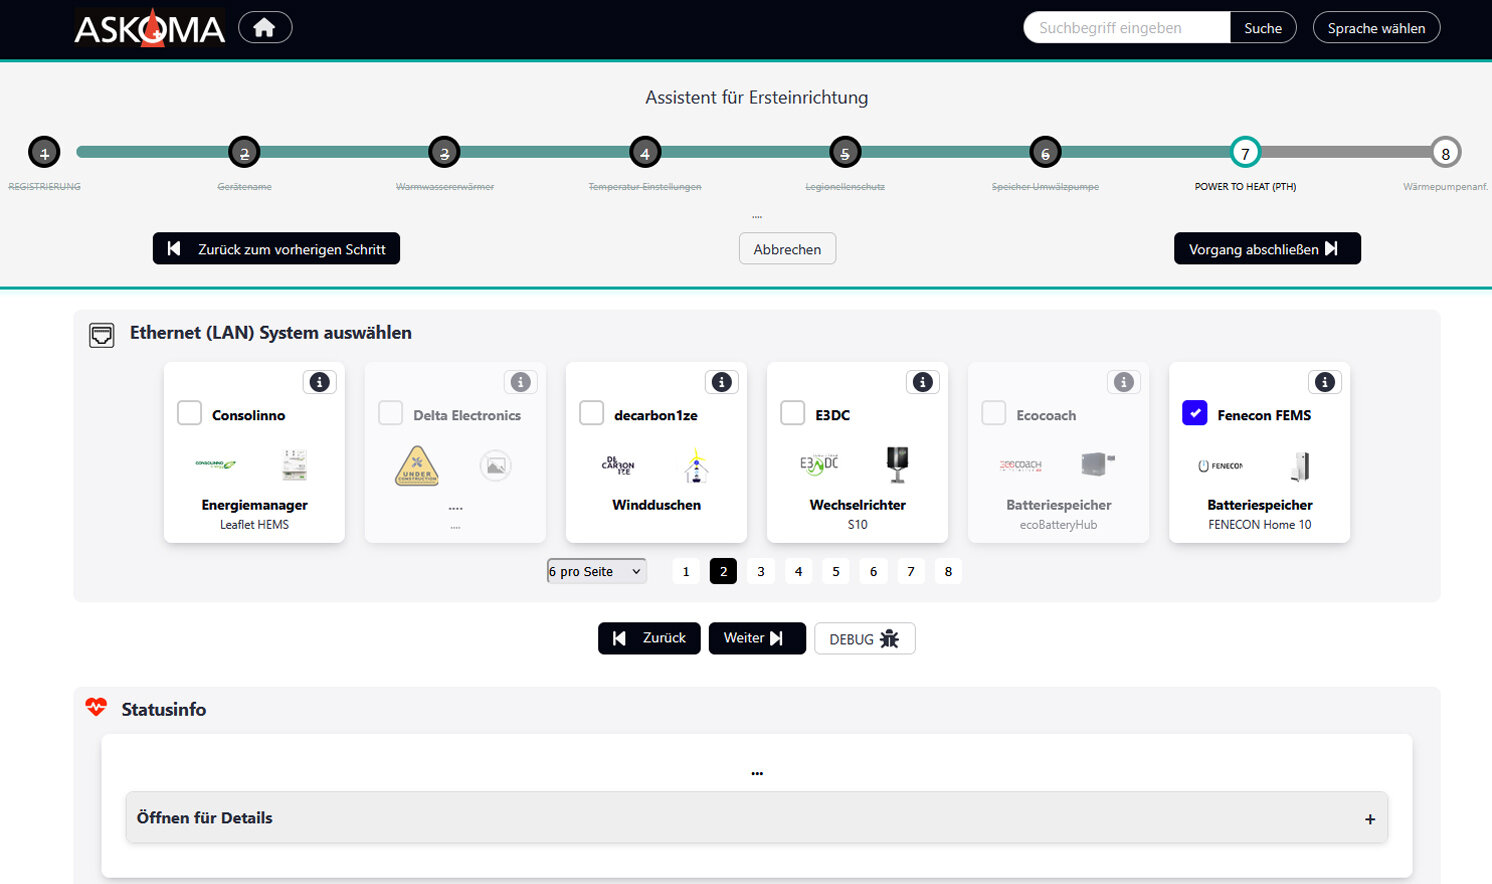
|
|
|
|
|
|
The connection to EMS must now be established.
3. How to use the Symphon-E App ASKOMA
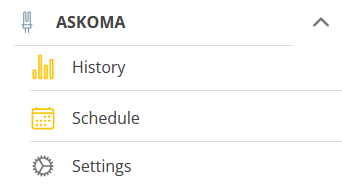
Once the installation is complete, Symphon-E App ASKOMA will be available in the side menu of the Heckert Solar app (shown here: desktop view): |
|
3.1. ASKOMA functionality
3.1.1. ASKOMA Main Window
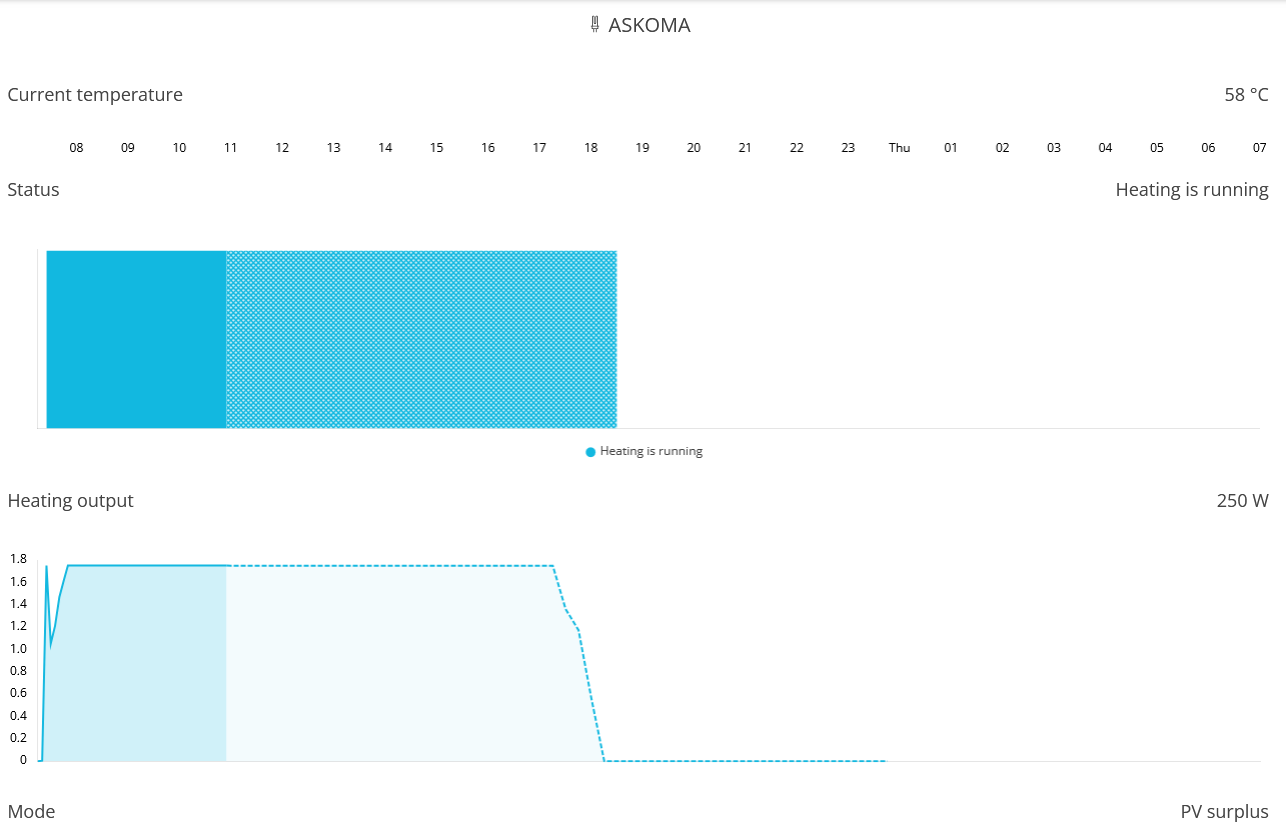
If you click or tap directly on ASKOMA in the side menu, the main window will display the current water temperature, the historical trend (4 hours), and the future trend (20 hours) of the water temperature in a graphical representation. The heating output is also displayed.
3.1.2. History
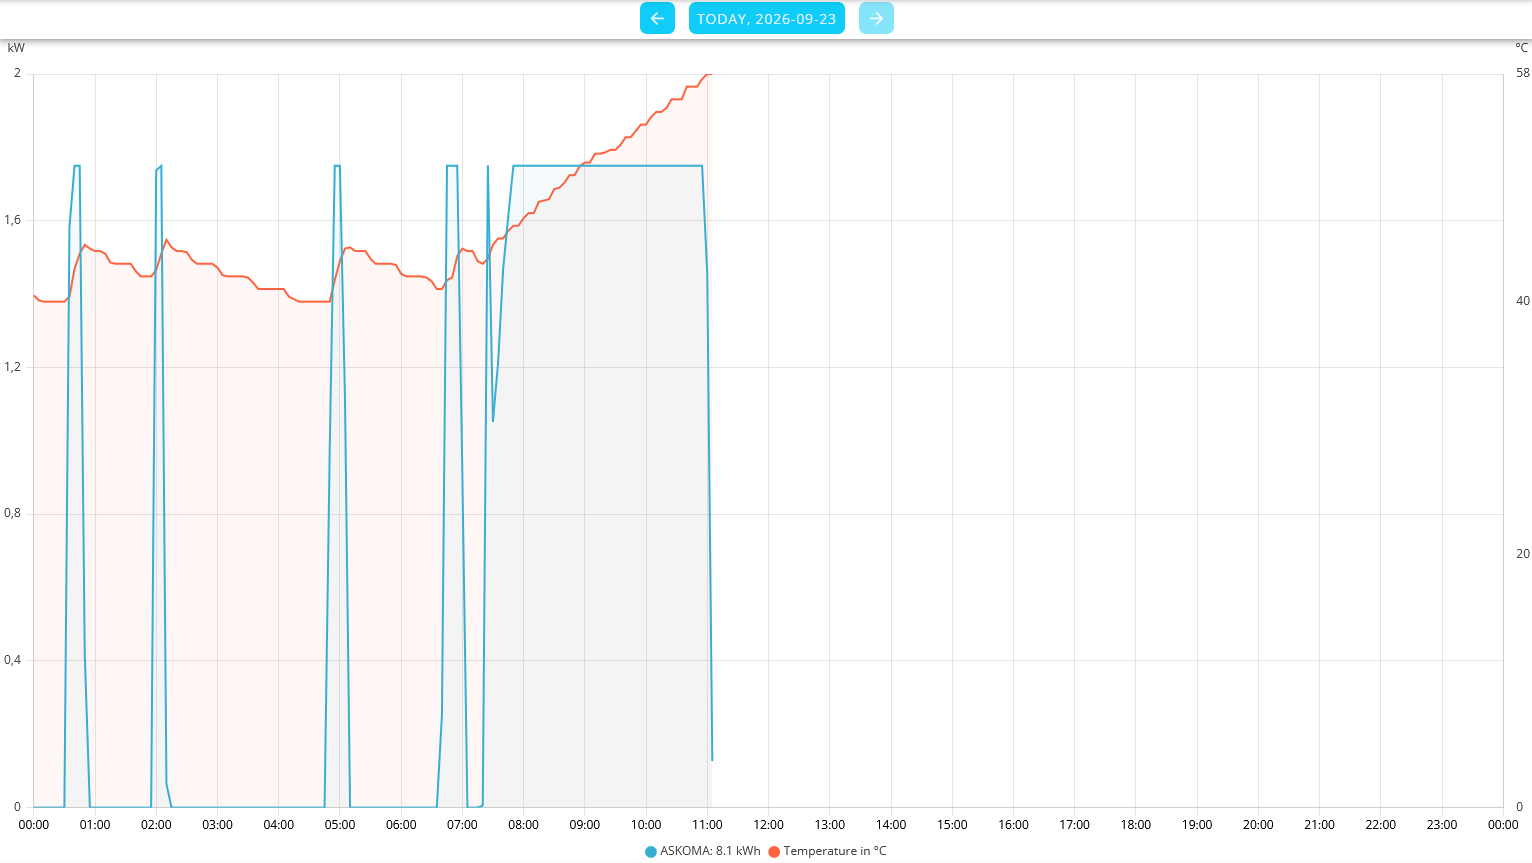
Select History from the side menu, and the main window will display the historical data for your heating element (water temperature/heating output).
| If you use a temperature sensor, its data will also be displayed in the history. |
3.1.3. Task scheduling
Using the Schedule settings, you can manually specify, with 15-minute precision, how the heating element should operate in the future.
Using ADD, you can create tasks that override the Base Mode of the heating element according to your preferences and within the specified limits:
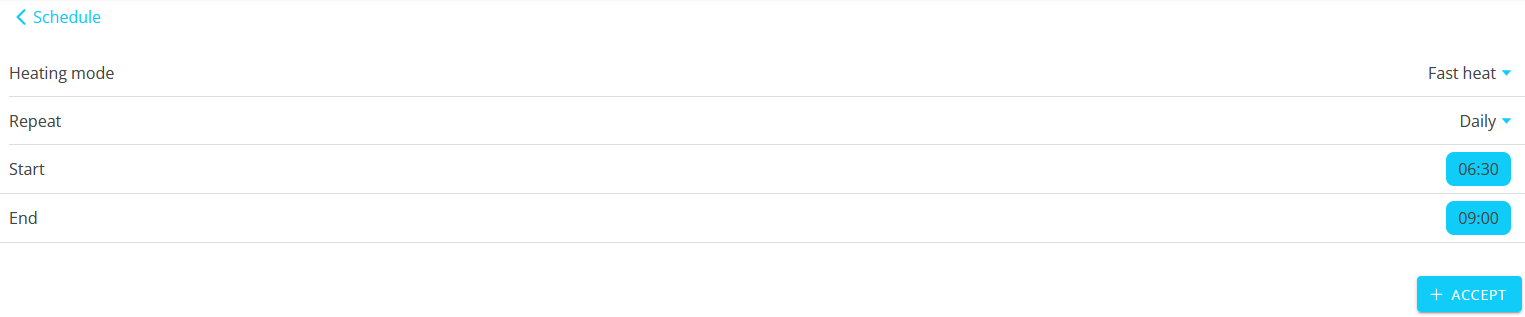
Set the desired Heating Mode, its repeat interval, and the start and end times.
Click + ACCEPT to save the settings and save the task.
| The task will be added to your EMS schedule. |
The task is now visible in the main window under Schedule:
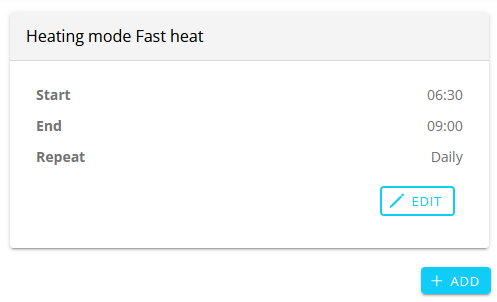
The assignment can be edited or deleted at any time.
3.1.4. Settings
In the side menu, the bottom item is Settings. Here, you can set the Base Mode for the heating element, which is active outside the time periods defined by the Schedule:
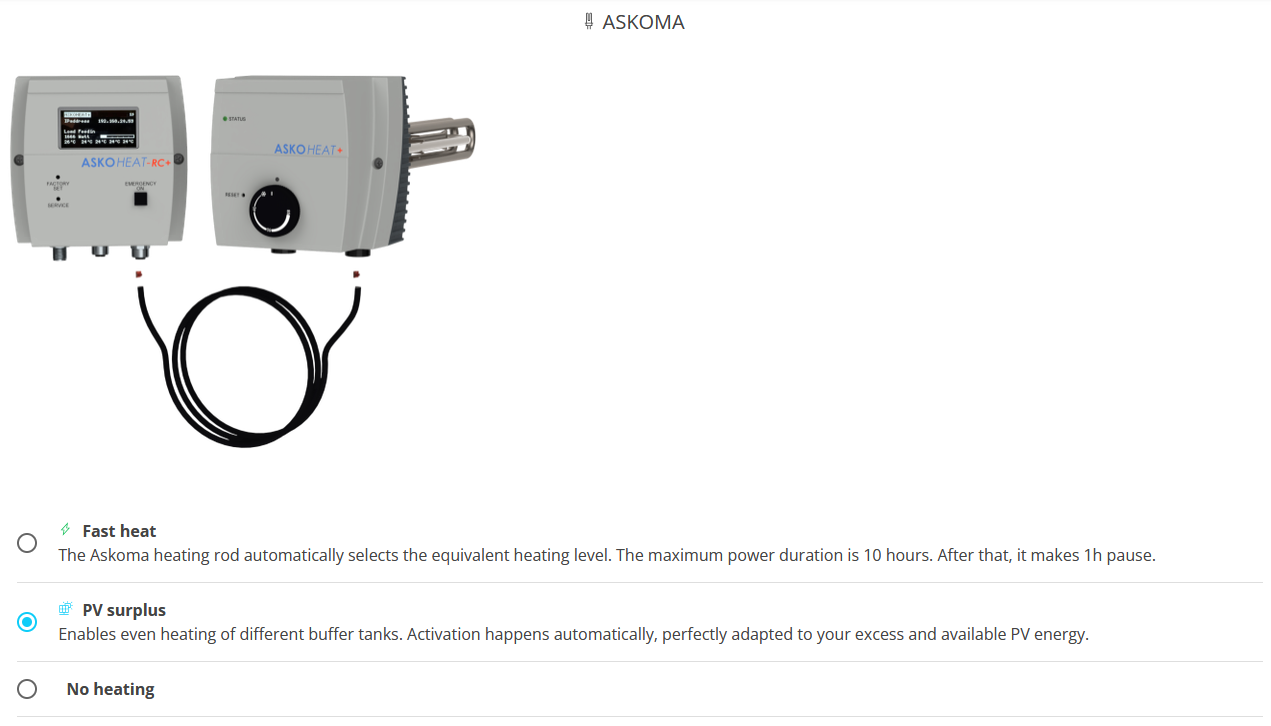
Description of the Base Modes:
- Fast heat
-
The heating element operates at full power to heat the water as quickly as possible. This setting is particularly useful, e. g. when combined with Time-of-Use tariffs during periods of low electricity prices.
- PV surplus
-
In this mode, the PV system’s excess production—which would otherwise be subject to grid feed-in—is used for heating.
- No heating
-
The heating element is inactive.