Installation and Configuration Manual — KEBA KeContact P40 / P40 Pro
1. Introduction
1.1. Legal provisions
The information contained in these documents is the property of Heckert Solar GmbH. Publication, in whole or in part, requires the written consent of Heckert Solar GmbH.
Subject to changes and printing errors!
1.2. Qualification of the installing electrician
A qualified electrician is a person who has the necessary experience and training:
-
Setting up, switching on, switching off, disconnecting, short-circuiting and repairing circuits and devices
-
Standard maintenance and use of protective devices in accordance with current safety standards
-
First aid/emergency care
-
Current knowledge of local regulations, standards and guidelines
1.3. Symbols used
Before reading the manual, you should familiarize yourself with the different types of safety warnings. You should also familiarize yourself with the importance of the safety warnings.
1.4. Symbol conventions
|
||
|
||
|
||
|
2. Product description
2.1. Prerequisites
The following is required to use the charging station:
-
Symphon-E App KEBA KeContact
|
The "Symphon-E App KEBA KeContact" is not included in the scope of delivery. This must be purchased separately if not already available. |
The Symphon-E App KEBA KeContact communicates with the FENECON Energy Management System via Modbus TCP/IP.
|
Bitte beachten Sie, das Modbus TCP/IP erfordert die Software-Version 1.2.0 oder neuer. |
|
On the KEBA Downloads & Updates eMobility website you will find all software updates for the KEBA KeContact P40 / P40 Pro. |
3. Commissioning

|
To install the KEBA charging station, please follow the instructions in the "KeContact P40 / P40 Pro Charging Station Installation Manual". |
|
This quick guide refers to the original user manuals. |
Install the KEBA KeContact P40 / P40 Pro charging station according to the KEBA GmbH installation instructions.
|
Bitte beachten Sie, dass die Standortbedingungen der KEBA GmbH gelten. |
Follow the instructions for the power supply for the KEBA KeContact P40 / P40 Pro charging station.
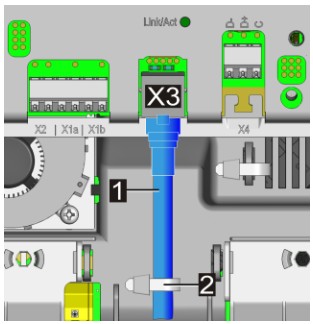
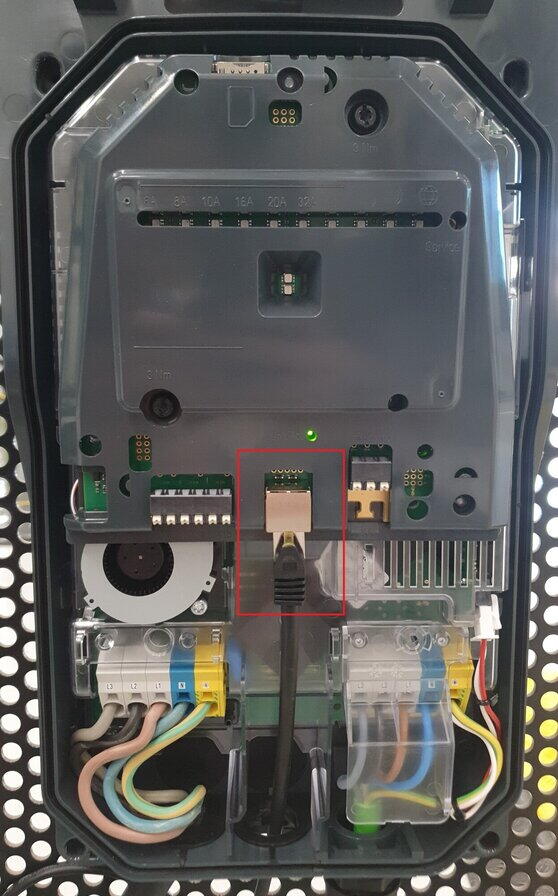
3.1. Ethernet connection
Die KEBA KeContact P40 / P40 Pro Serie wird über die LAN-Netzwerkschnittstelle (RJ45) über das Kundennetzwerk mit dem Energiemanagement System verbunden. Folgen Sie bitte den nachstehenden Schritten.
Connect the RJ45 plug to the LAN network connection X3 provided on the KEBA KeContact P40.
|
In einem Netzwerk werden IP-Adressen typischerweise automatisch via DHCP vergeben. Das übernimmt in vielen Fällen der Internetrouter, z. B. eine FRITZ!Box. Das führt dann zu einem Ausfall der Kommunikation zwischen EMS und Ladesäule. Um dies zu verhindern kann eine statische IP-Adressen vergeben werden. |
3.2. Assigning an IP address via DHCP
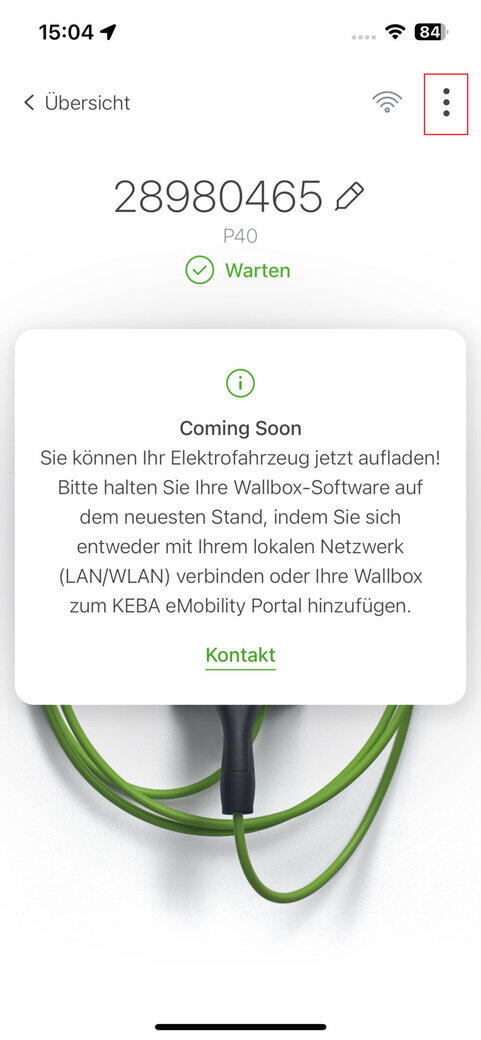
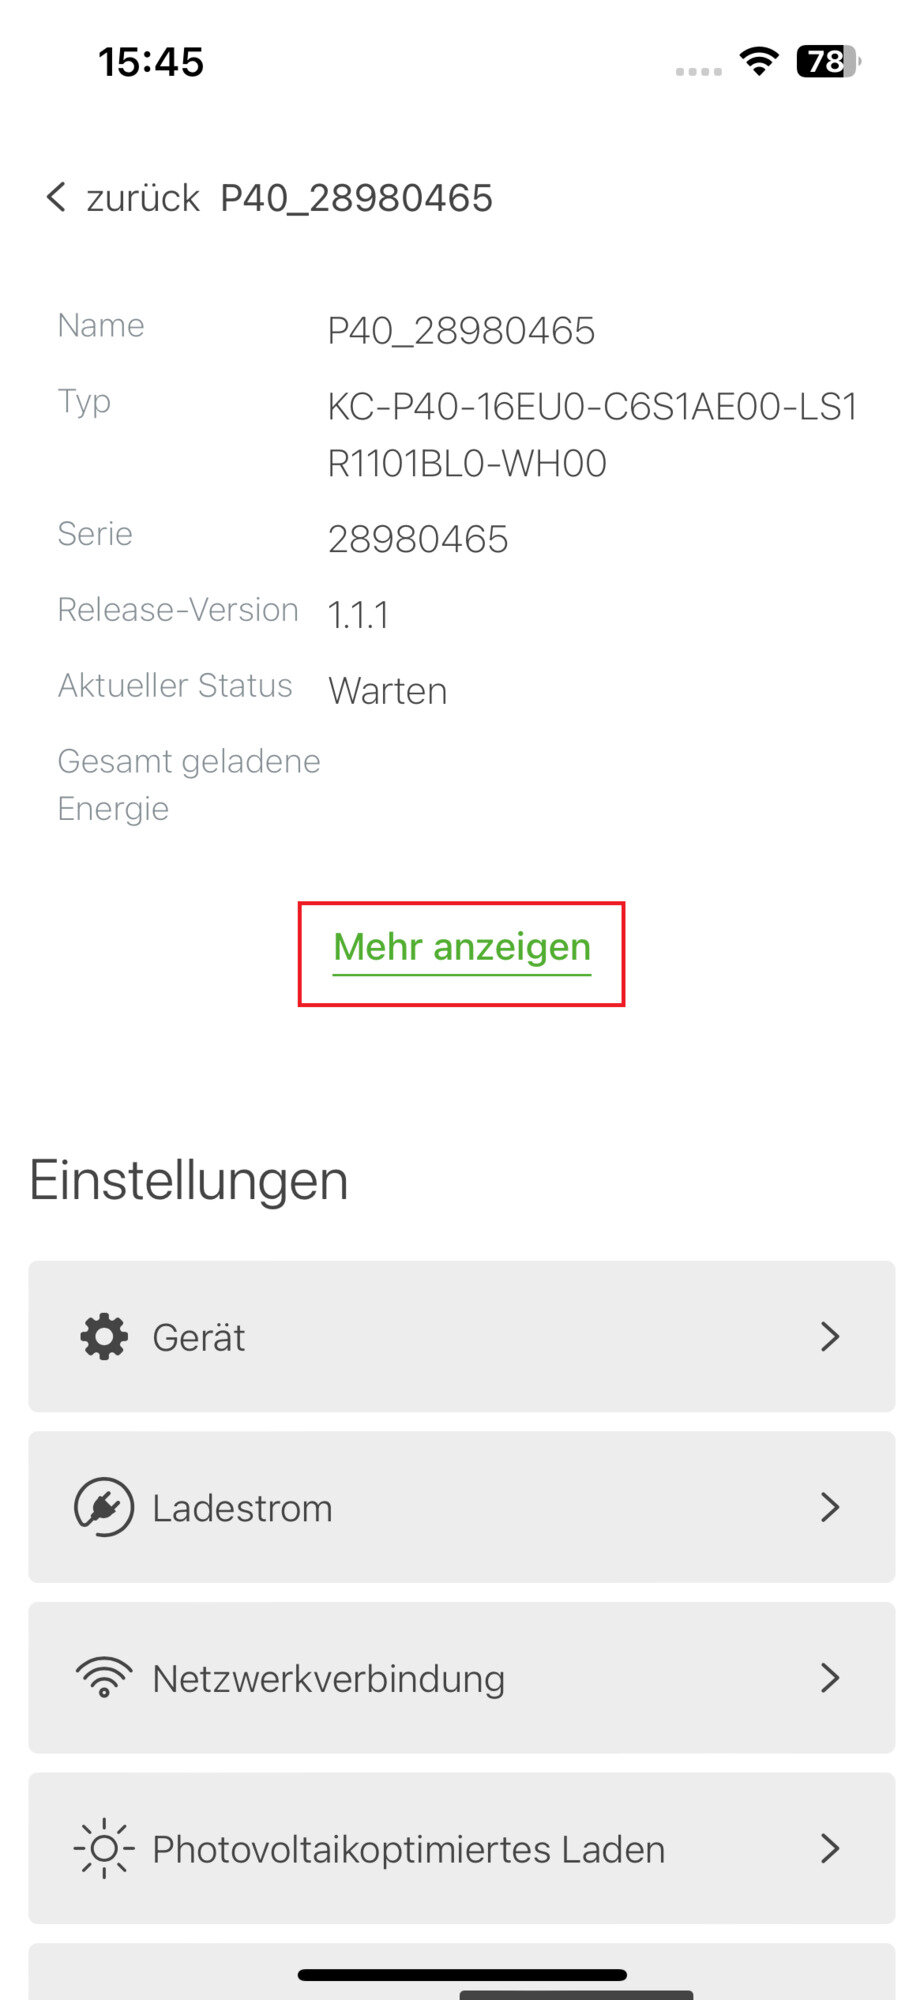
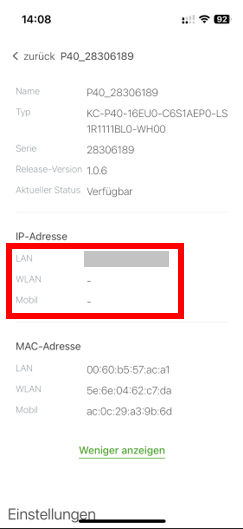
Nach Anschluss an das Kundennetzwerk wird der KEBA KeContact P40 / P40 Pro mittels DHCP eine IP-Adresse zugeteilt. Diese IP-Adresse kann im DHCP-Server, z. B. der Fritz!Box, ermittelt werden. Alternativ kann die IP-Adresse Ihrer KEBA KeContact P40 / P40 Pro kann über die KEBA eMobility App ausgelesen werden.
4. Configuration
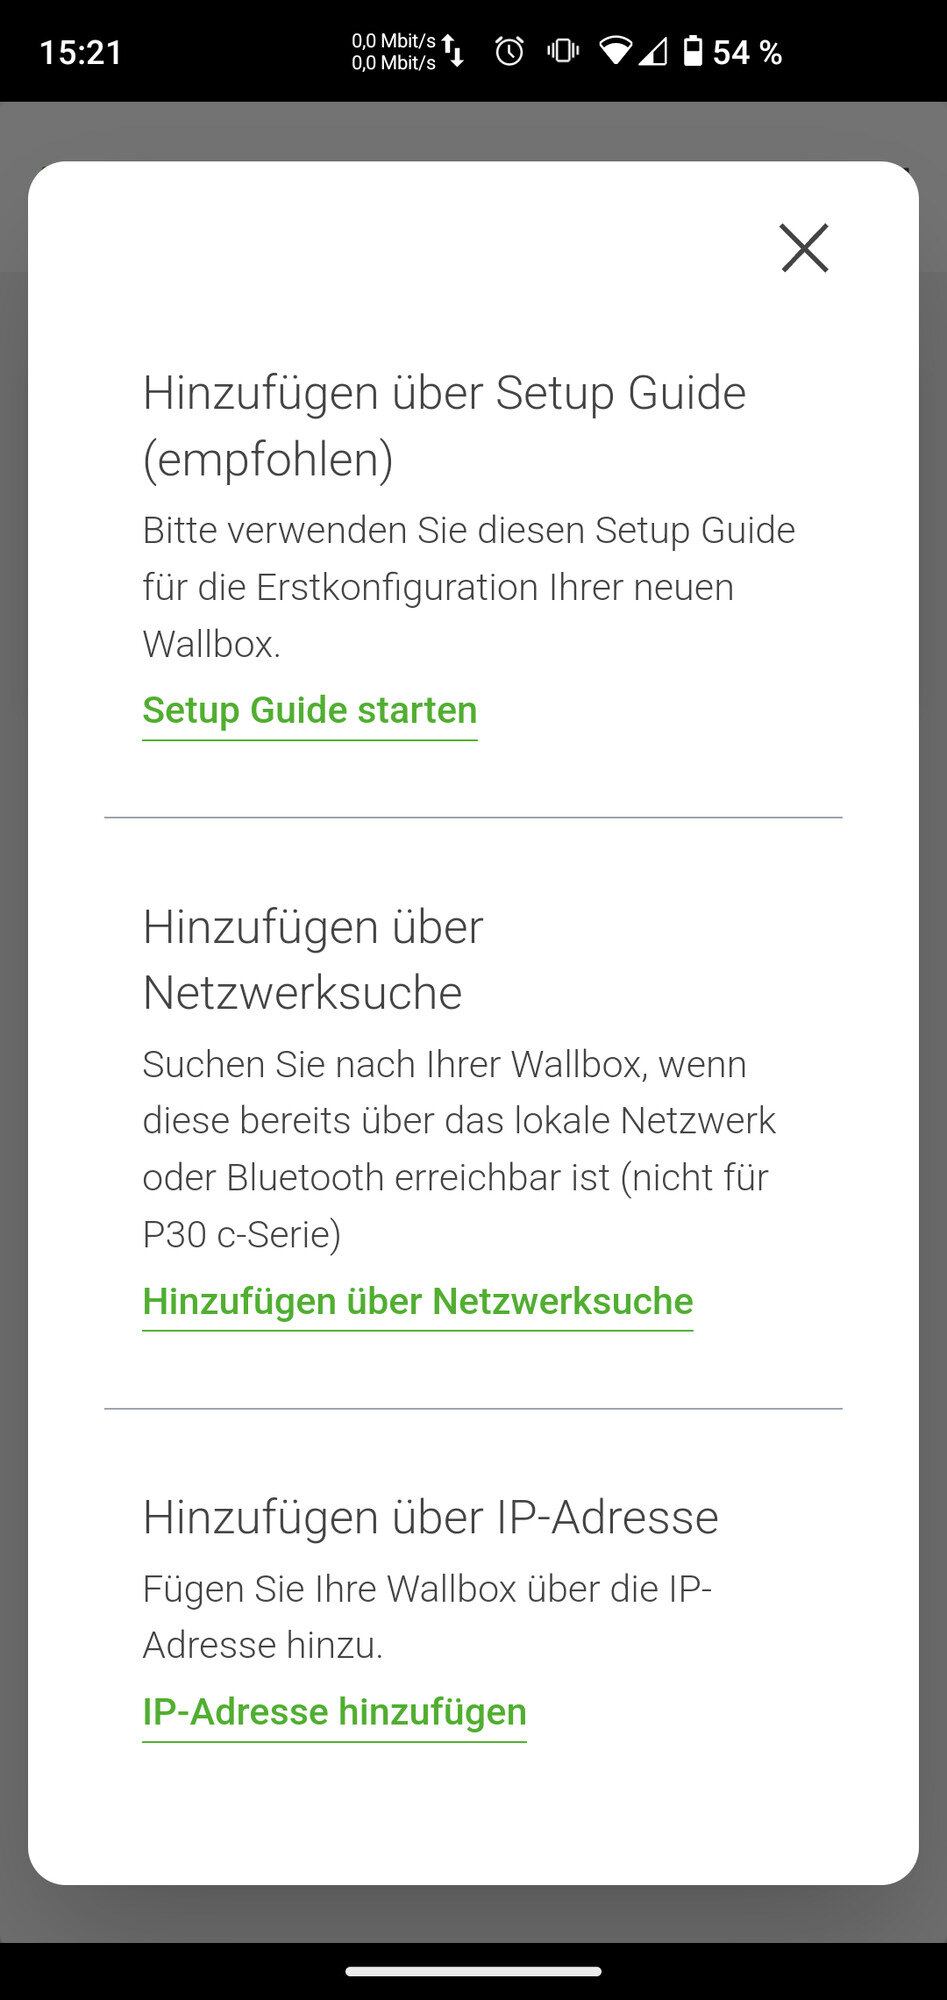
|
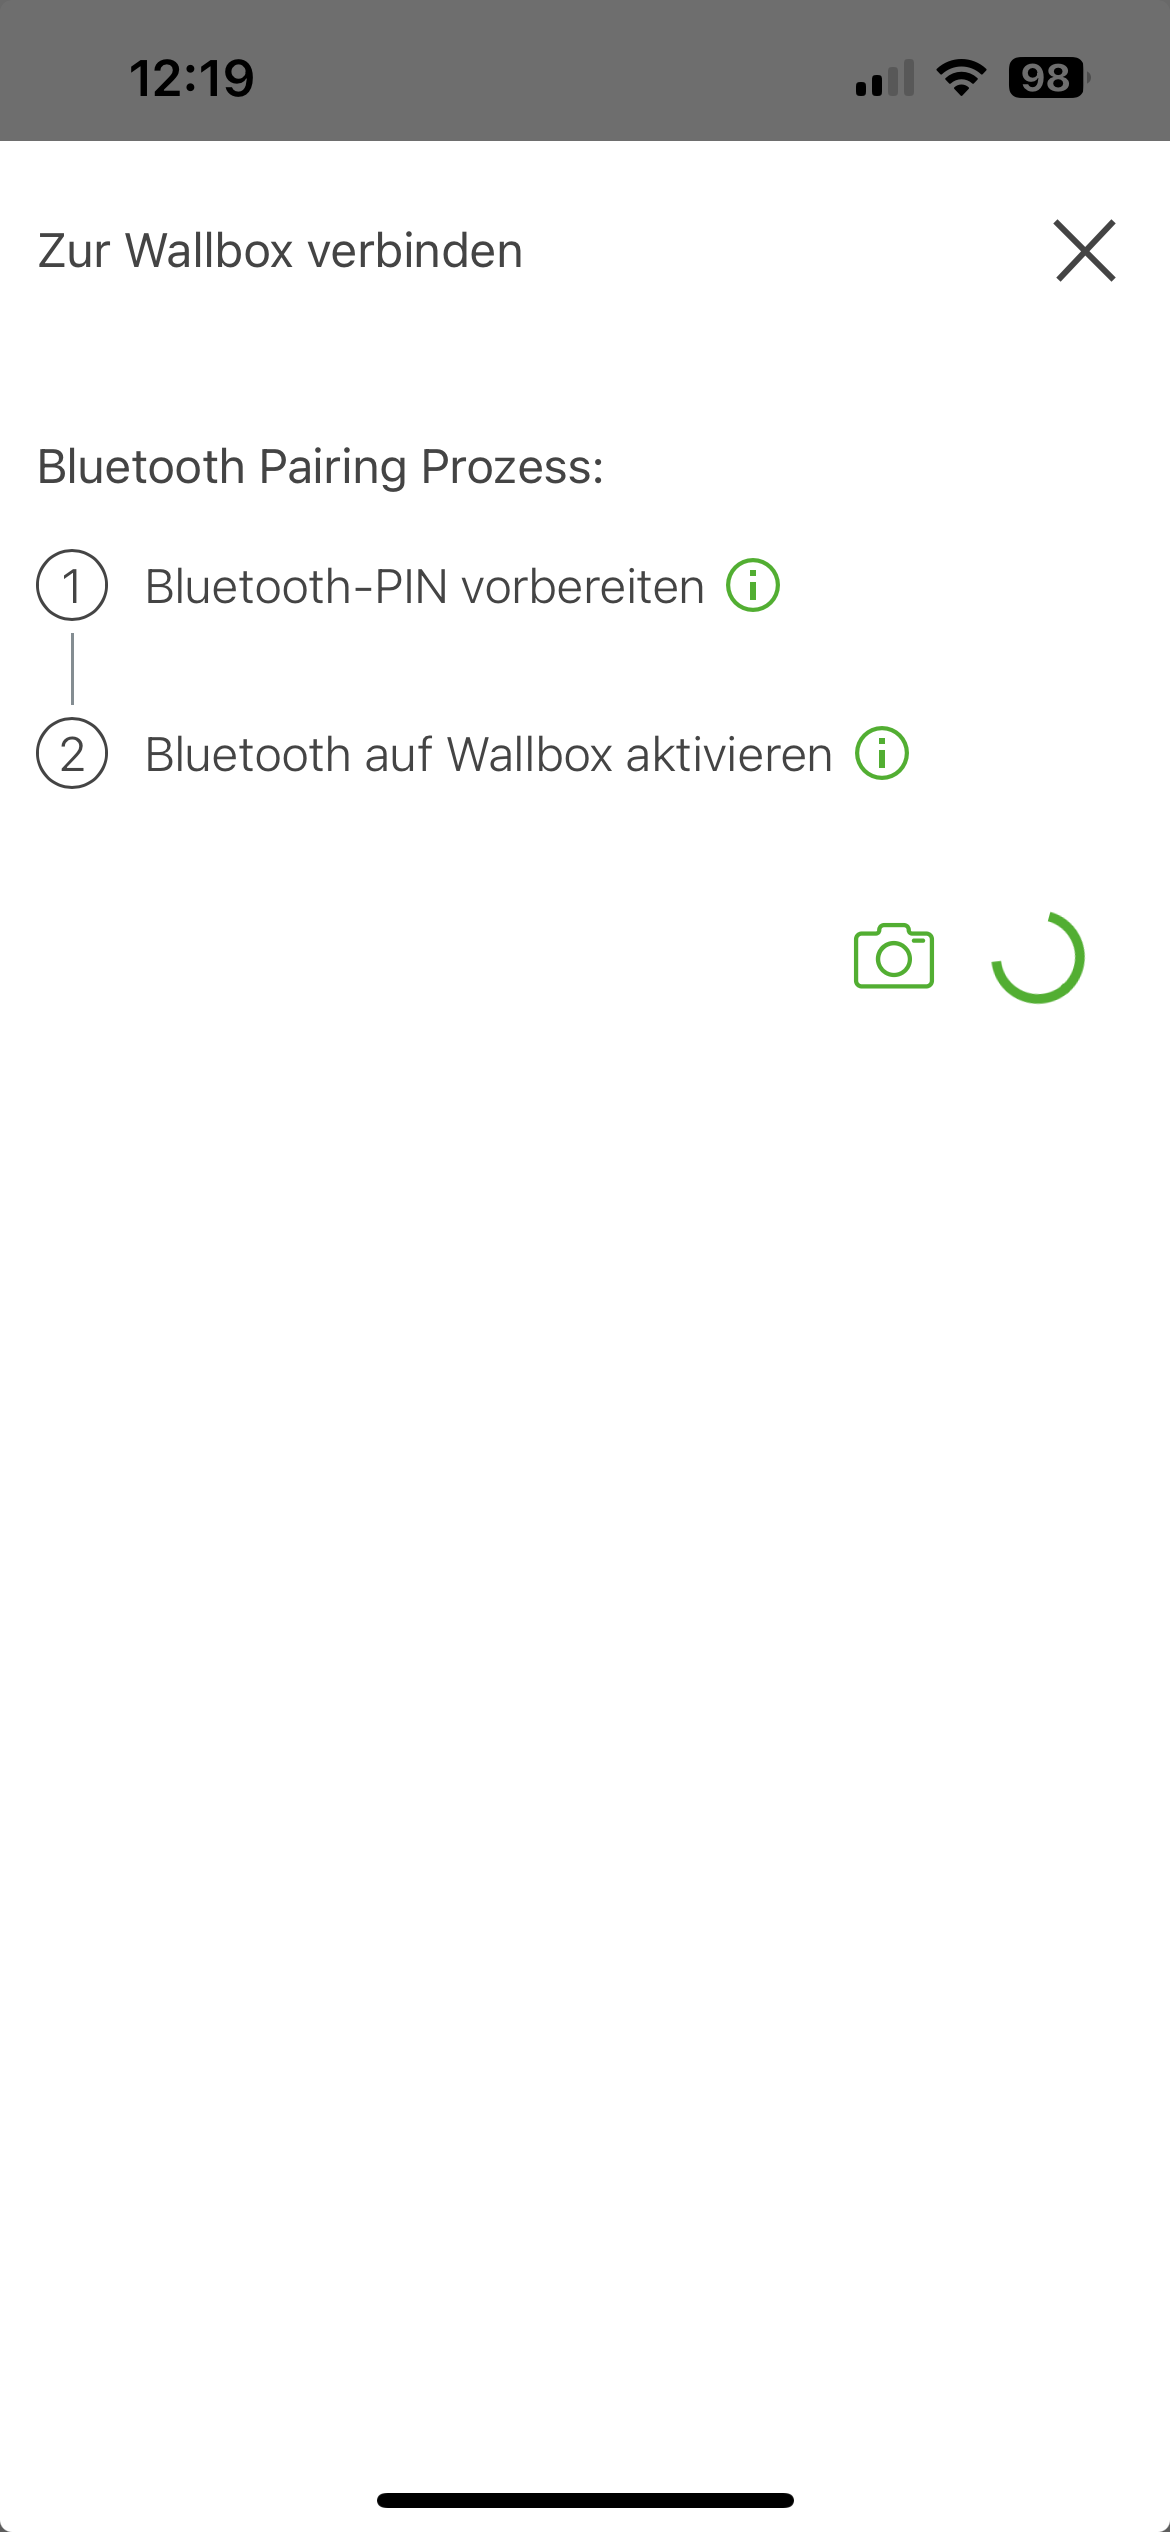
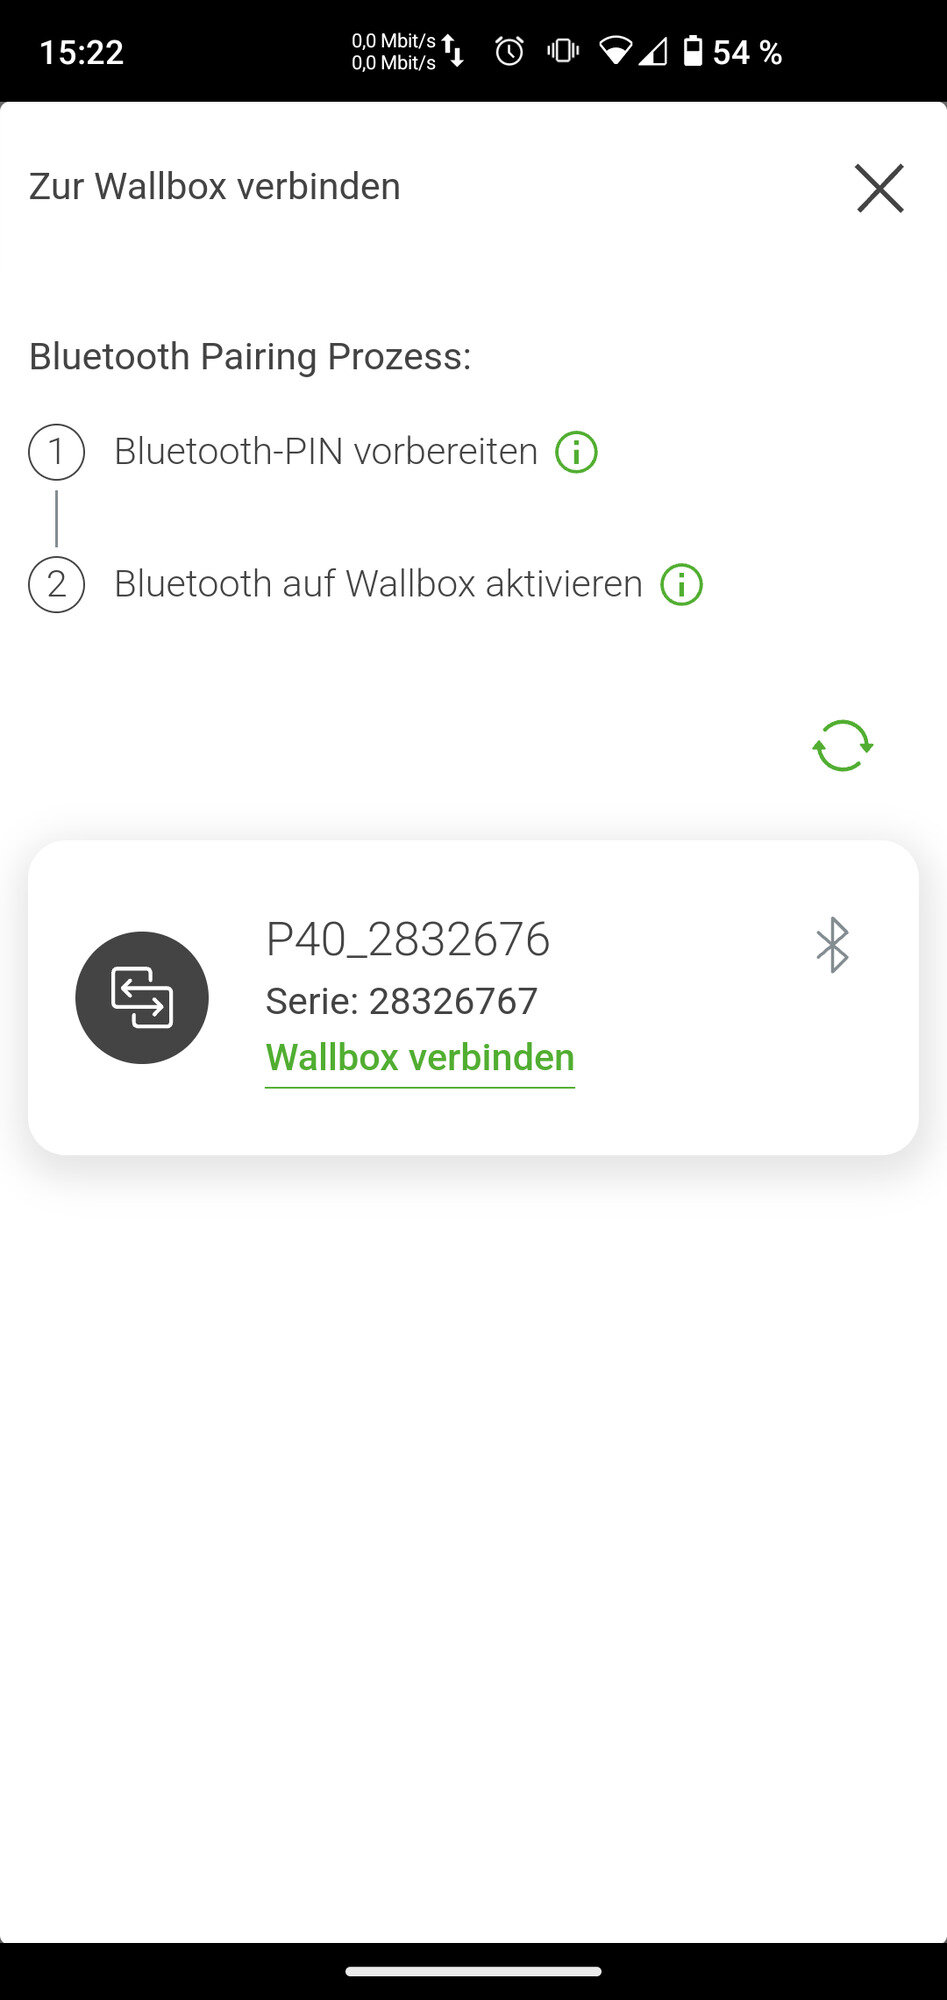
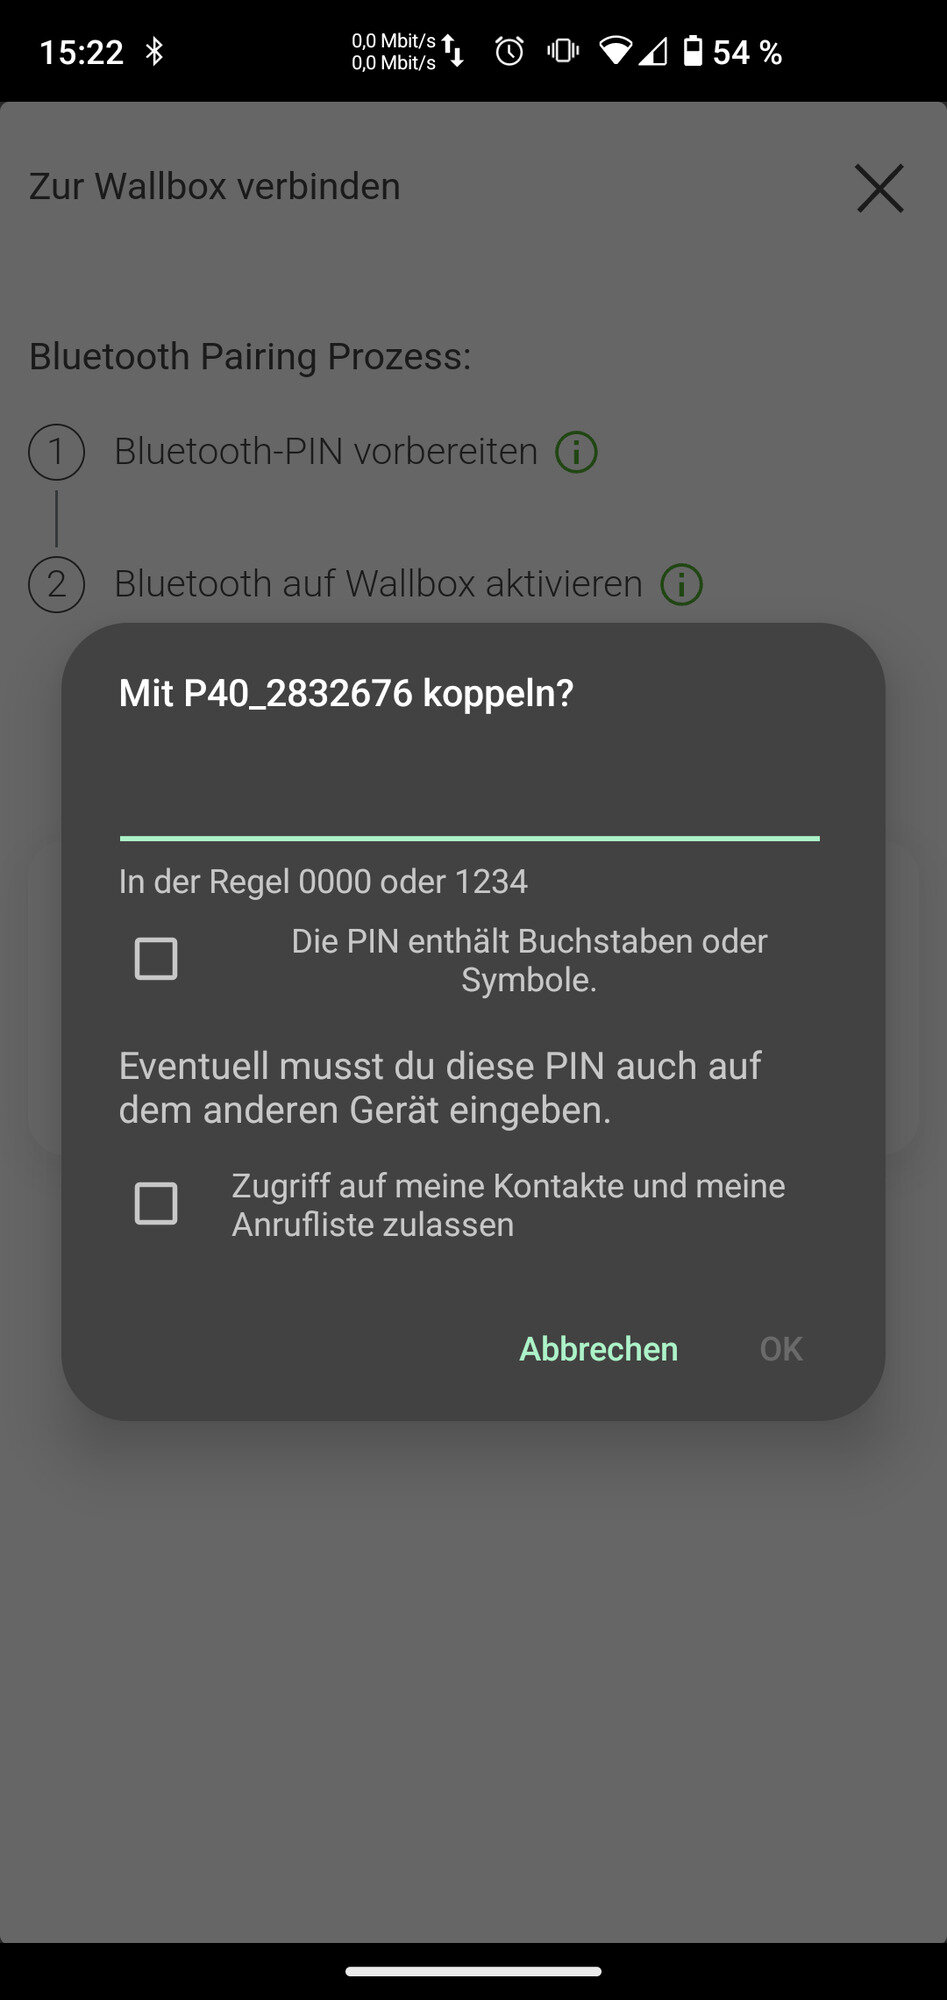
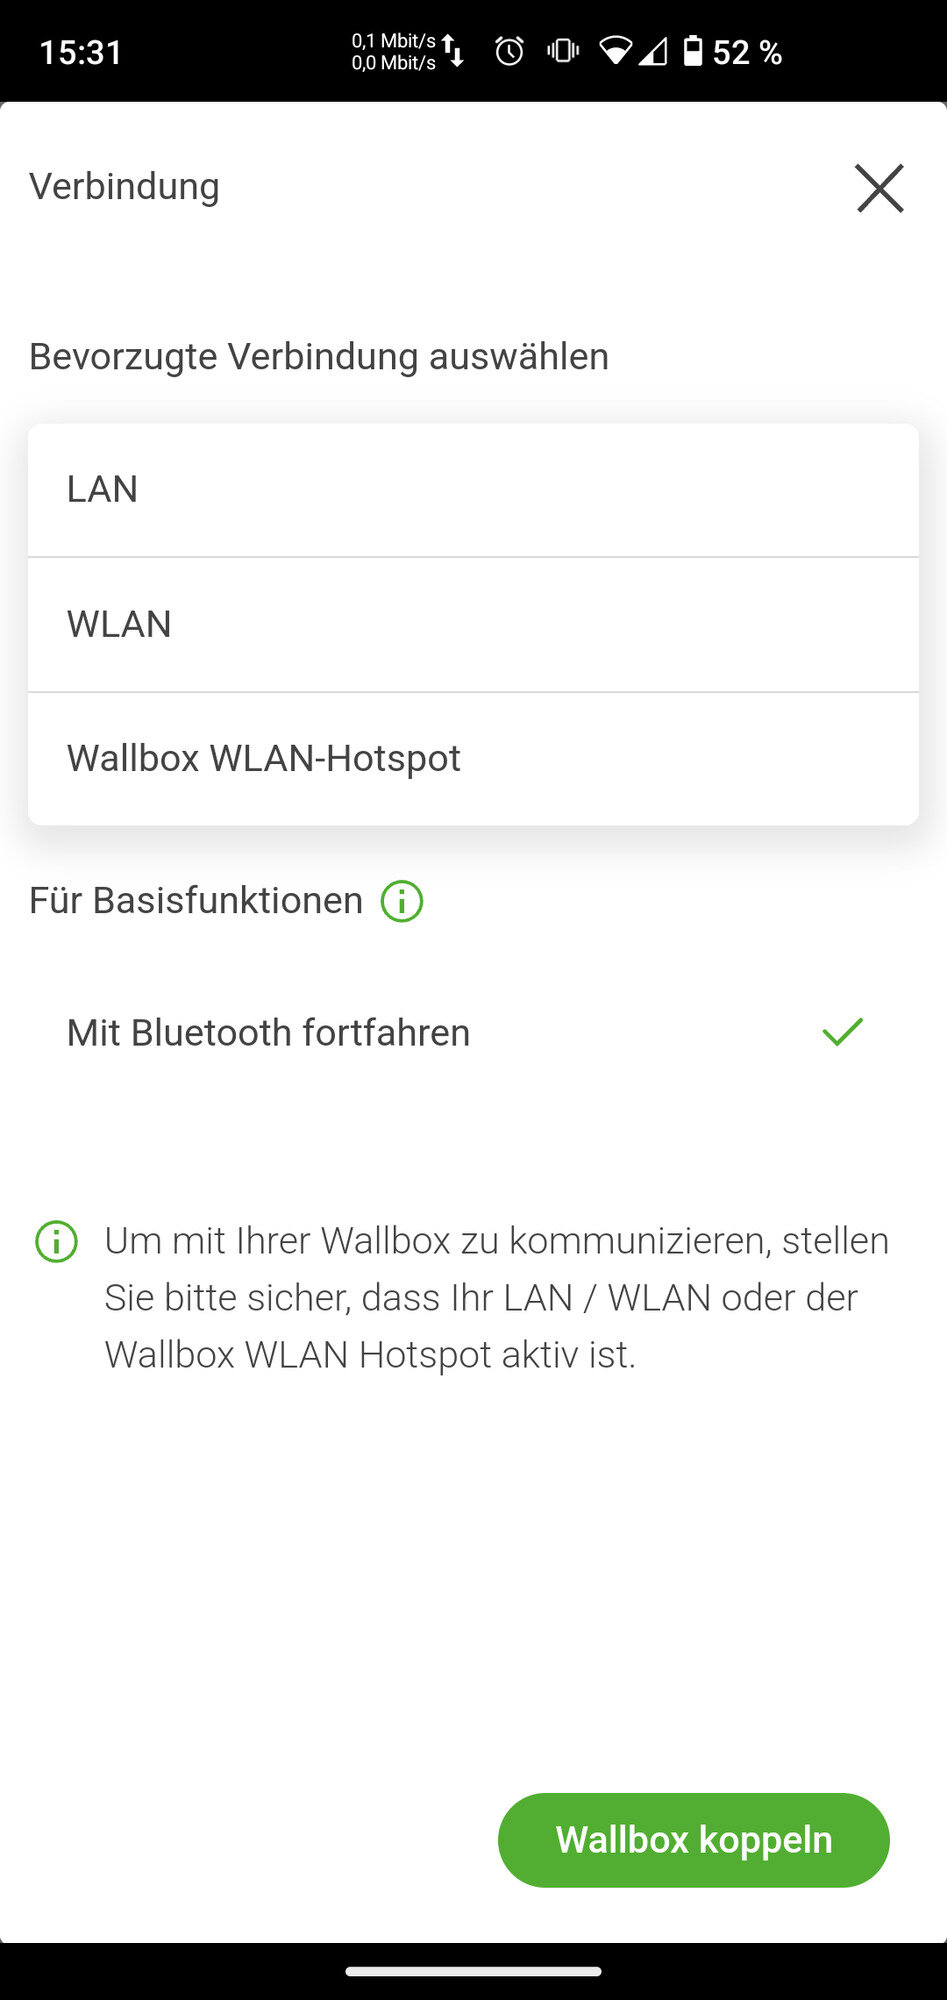
Die KEBA KeContact P40 / P40 Pro Serie nur über die KEBA eMobility App eingerichtet werden. Laden Sie bitte die KEBA eMobility App im AppStore oder im Google PlayStore herunter. |

|
|
|
|
|
|
|
Bitte achten Sie darauf, dass Sie Bluetooth an Ihrem Handy aktiviert haben. |
|
|
|
|
|
|
|
|
||
|
|||
|
|
|
|
|
|
|
|
|
|
|
|
|
|
|
|
|
|
|
Please make a note of the assigned IP address. The IP address is required below to set up the Symphon-E App KEBA KeContact. |
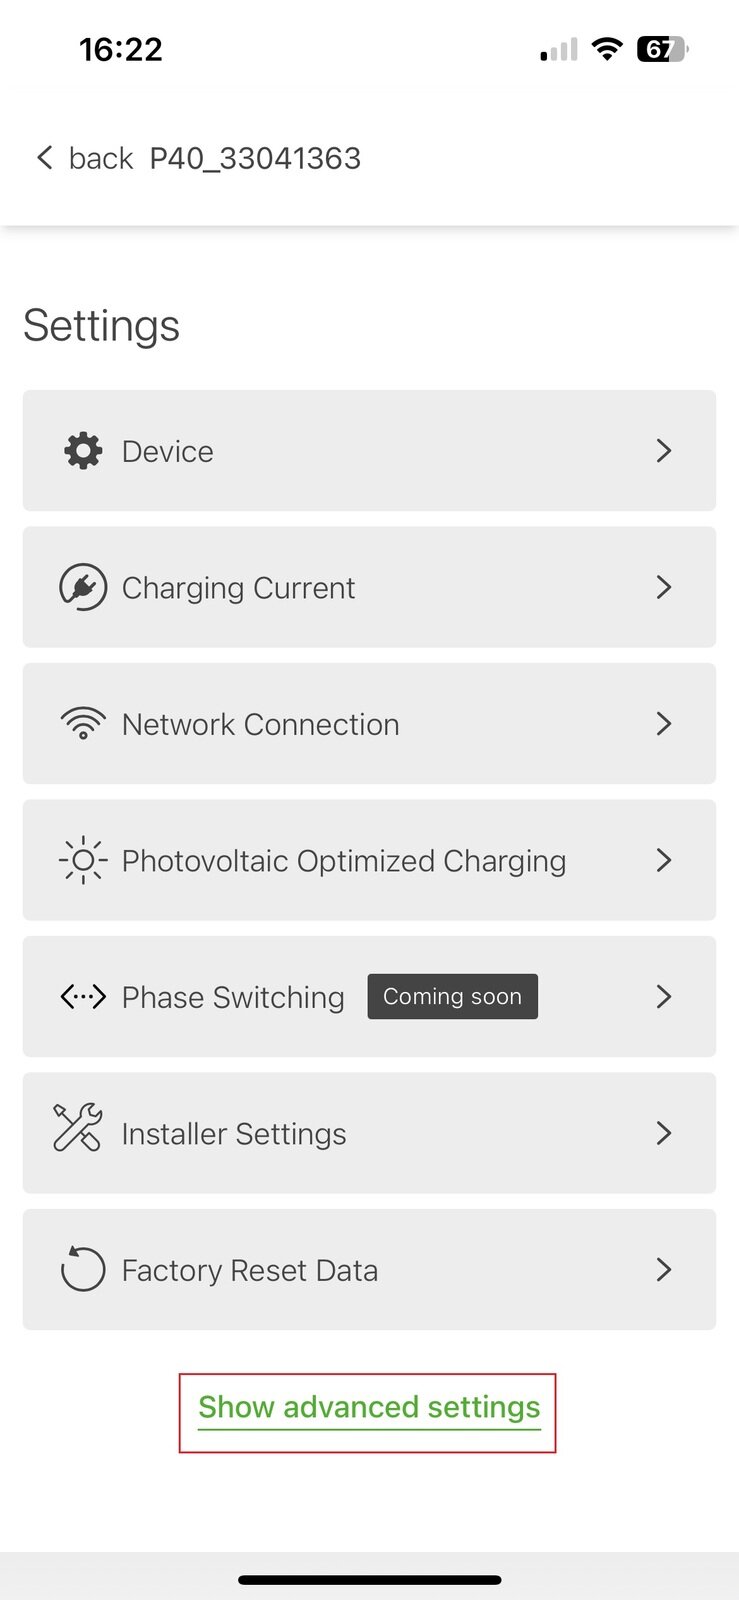
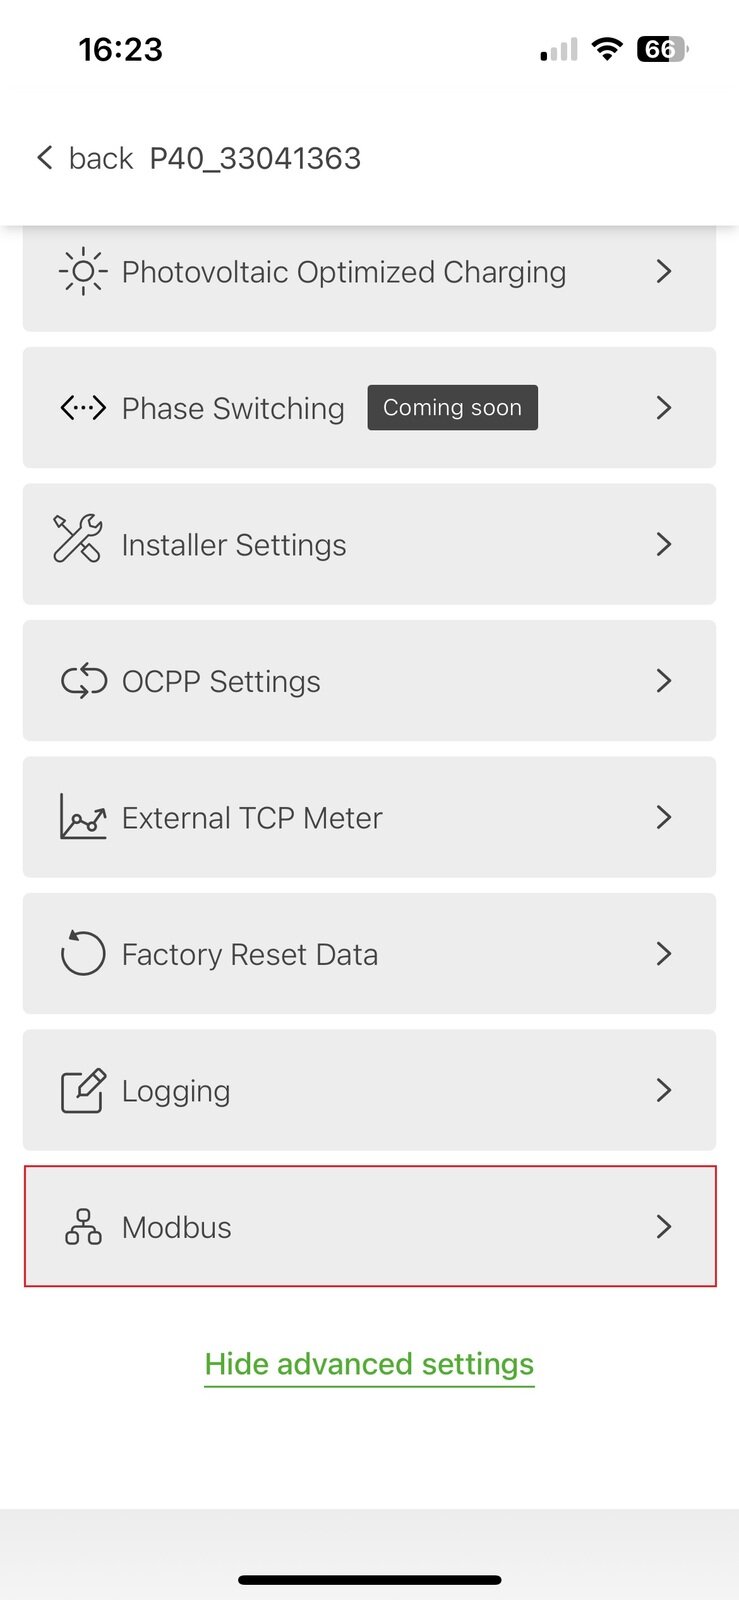
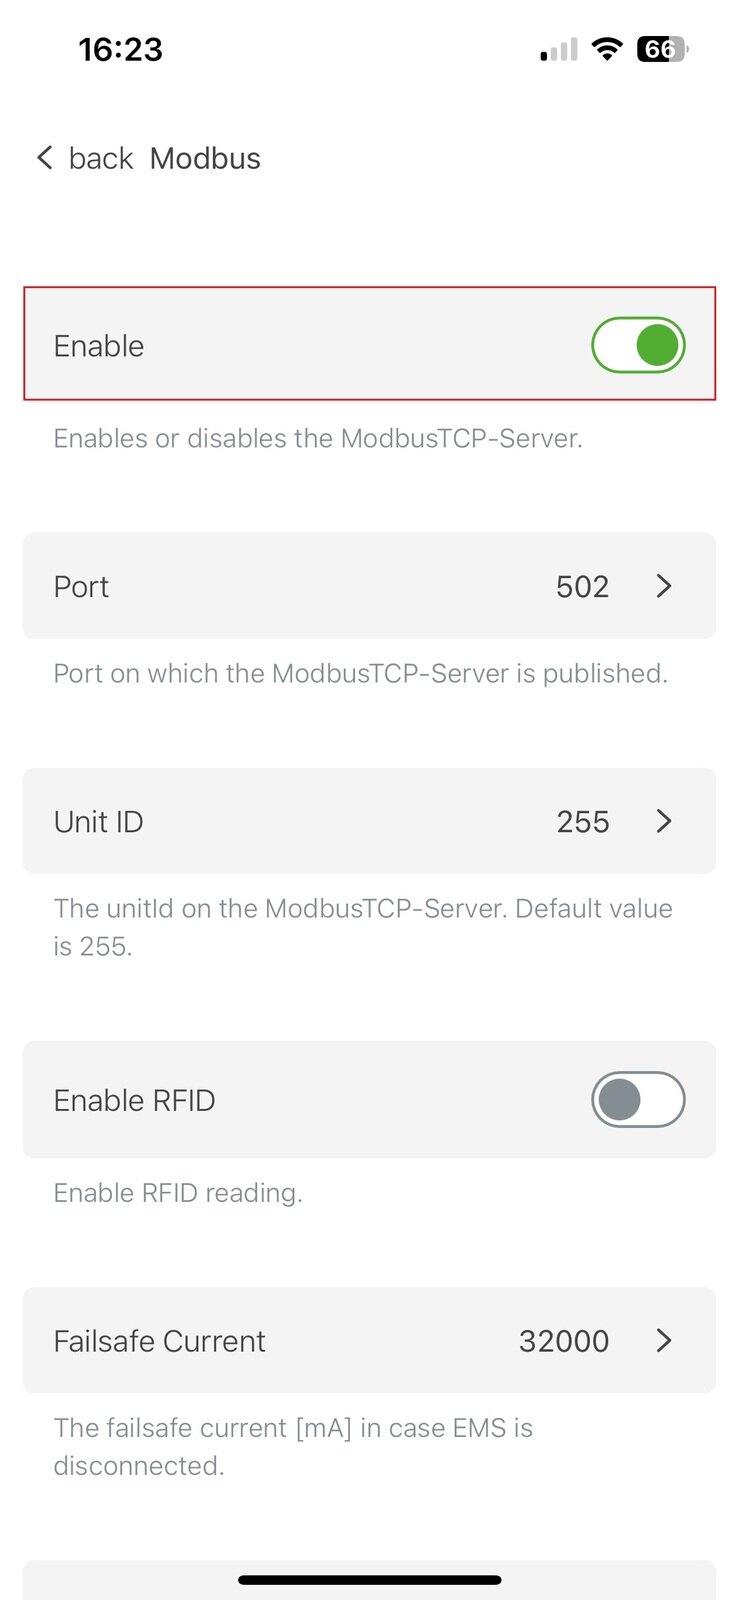
The Symphon-E App KEBA KeContact communicates with the FENECON Energy Management System via Modbus TCP/IP.
|
Die Symphon-E App KEBA KeContact verwendet eine Modbus TCP/IP Schnittstelle. |
|
|
|
|
|
|
|
|
|
|
|
|
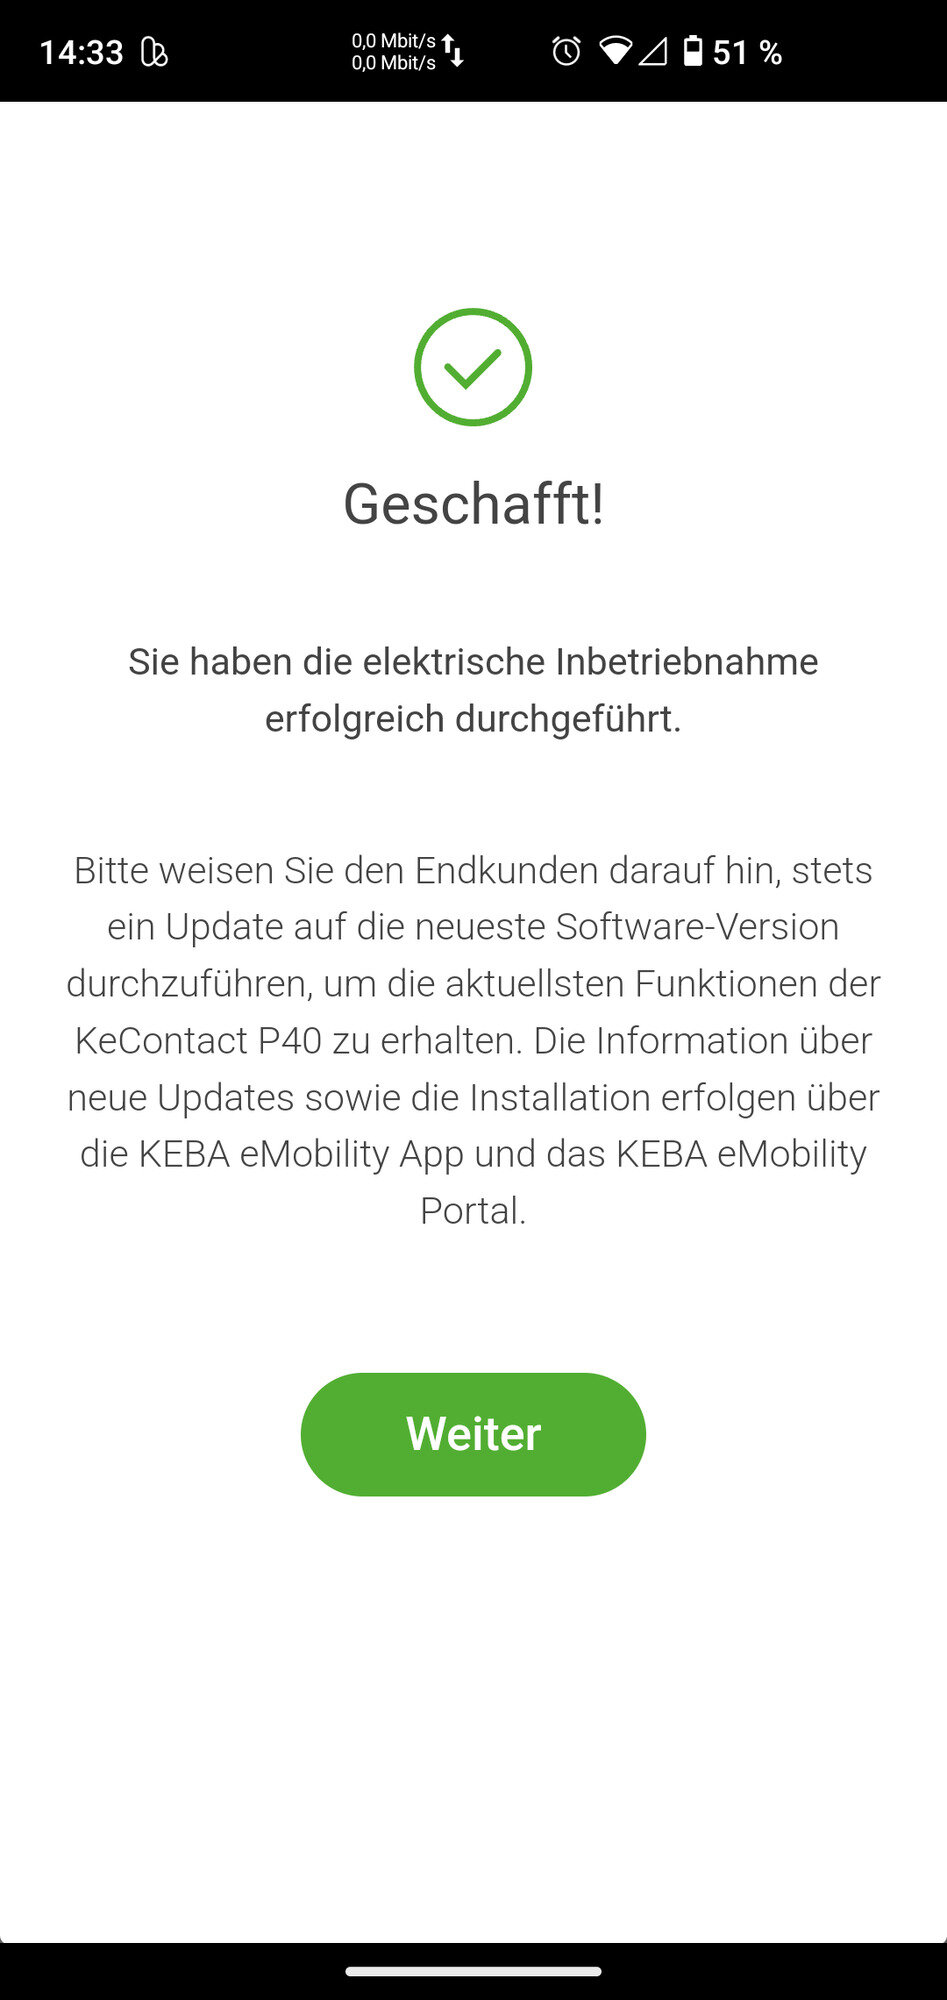
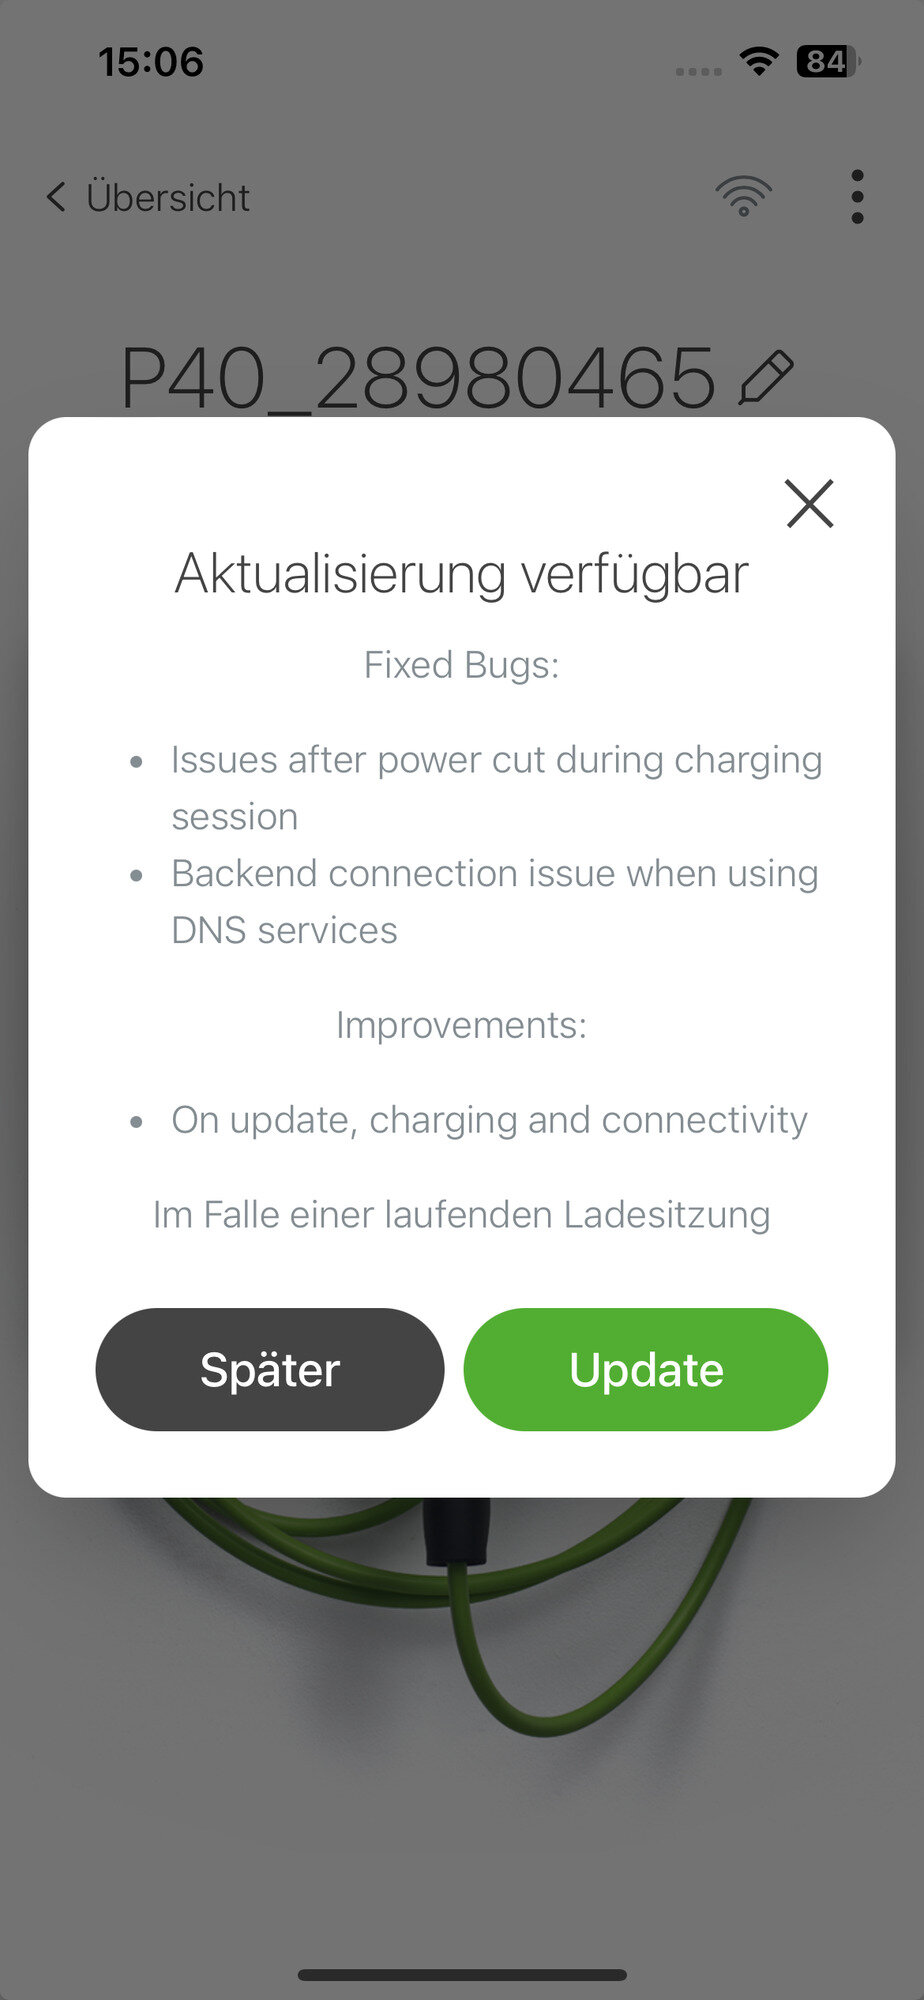
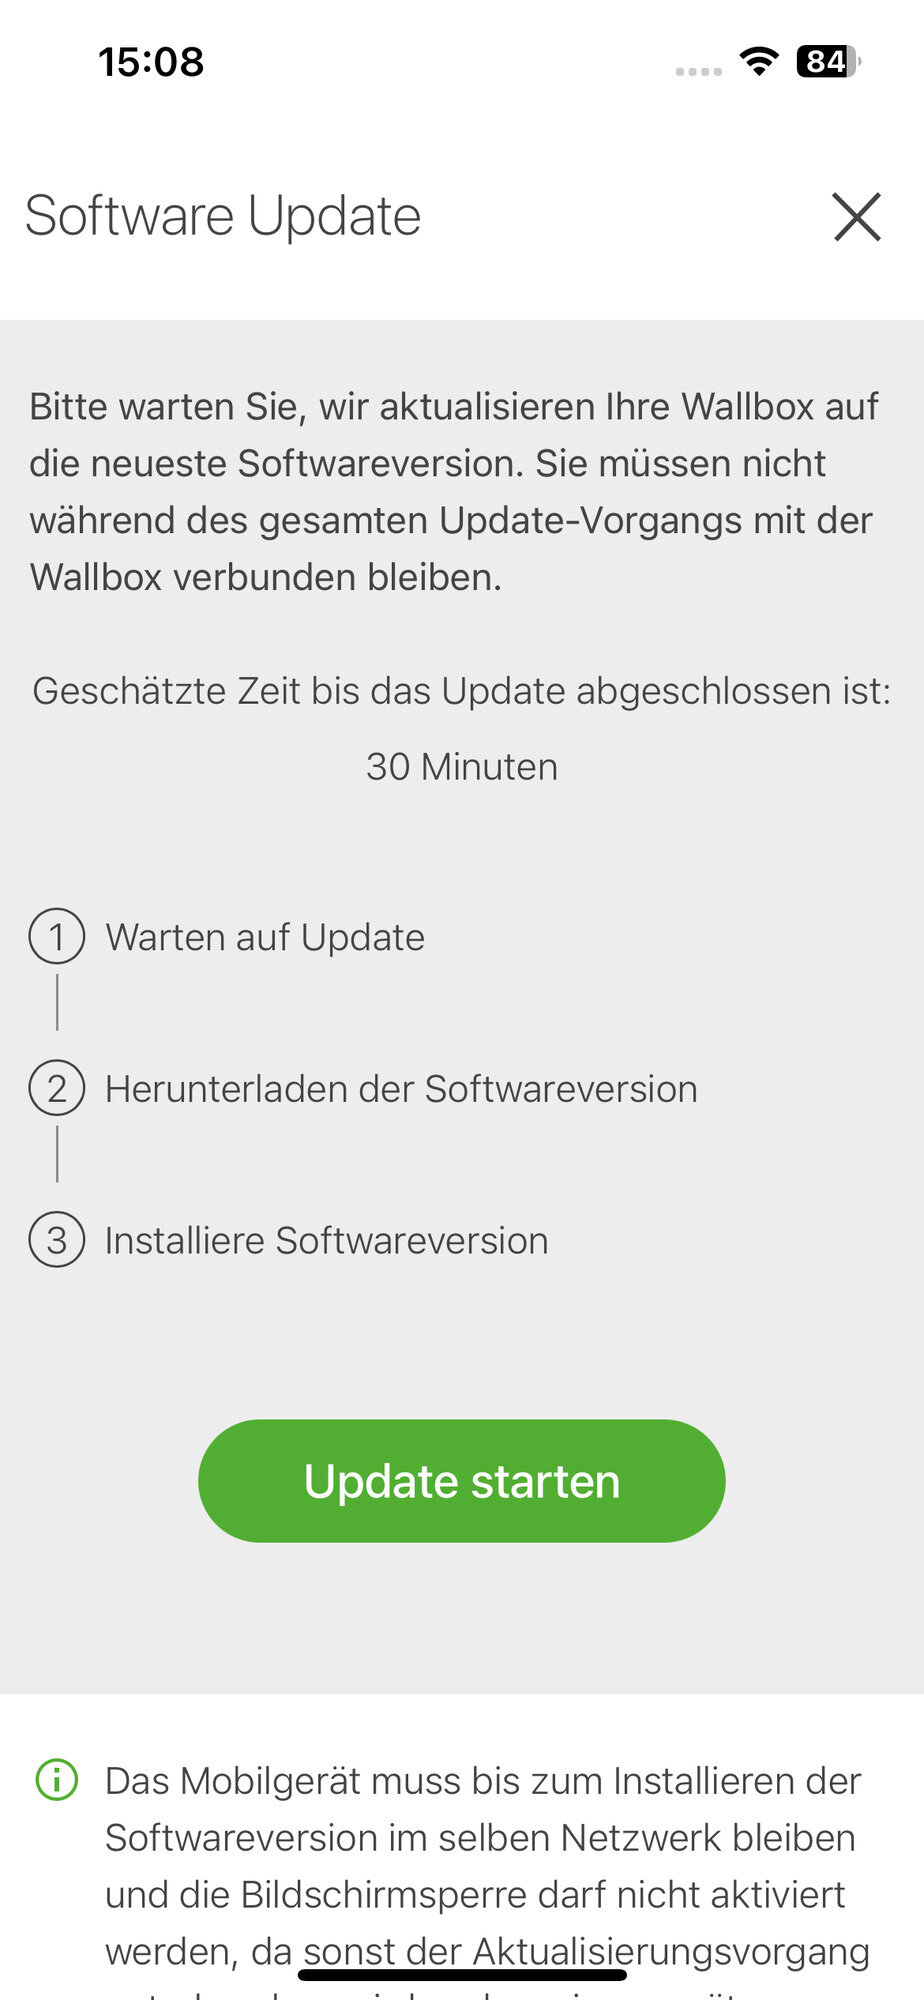
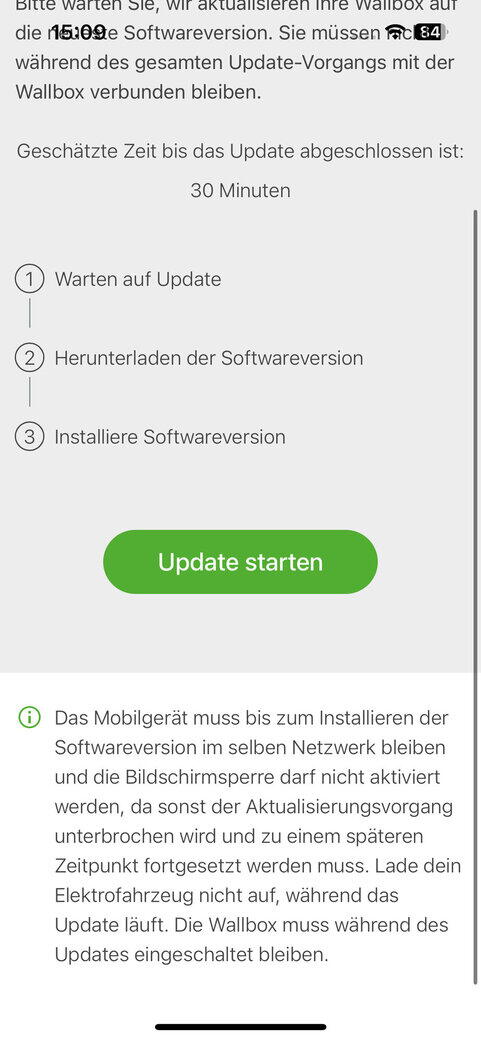
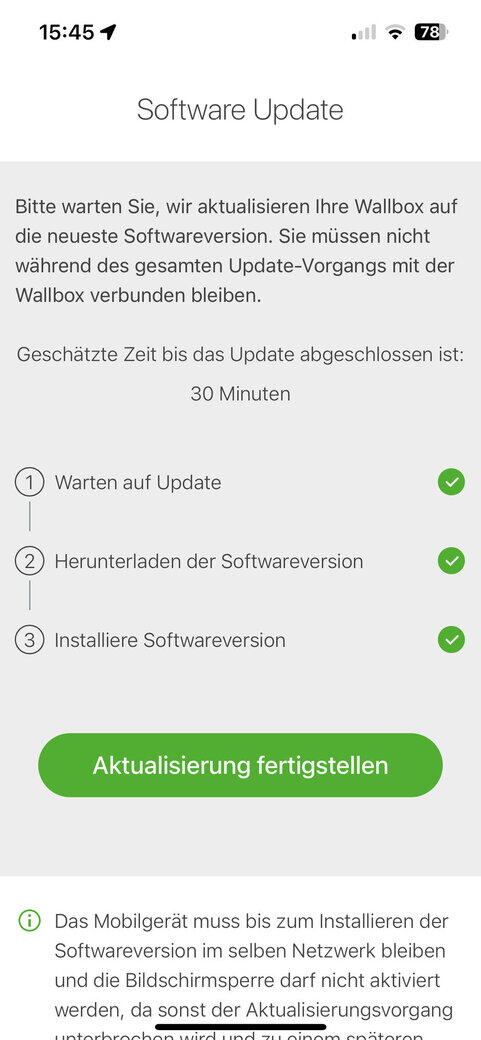
4.1. Updating the charging station firmware
To ensure that the latest functions of the charging station can be used, we recommend always using the latest firmware.
The latest software updates are automatically displayed when you open the KEBA eMobility App.
|
|
|
|
|
|
|
|
The configuration is now complete.
5. Install Symphon-E App KEBA KeContact
In the Symphon-E App Center you will find all installable Symphon-E Apps — such as the Symphon-E App KEBA KeContact.
|
In dem Benutzerhandbuch Symphon-E App Center finden Sie eine ausführliche Anleitung zur Bedienung des Symphon-E App Center. Des Weiteren wird beschrieben, wie ein Lizenzschlüssel registriert und eingelöst werden kann. |
Folgen Sie anschließend den Anweisungen des Symphon-E App Installationsassistenten Ihrer KEBA KeContact P40 / P40 Pro.
5.1. Installationsassistent
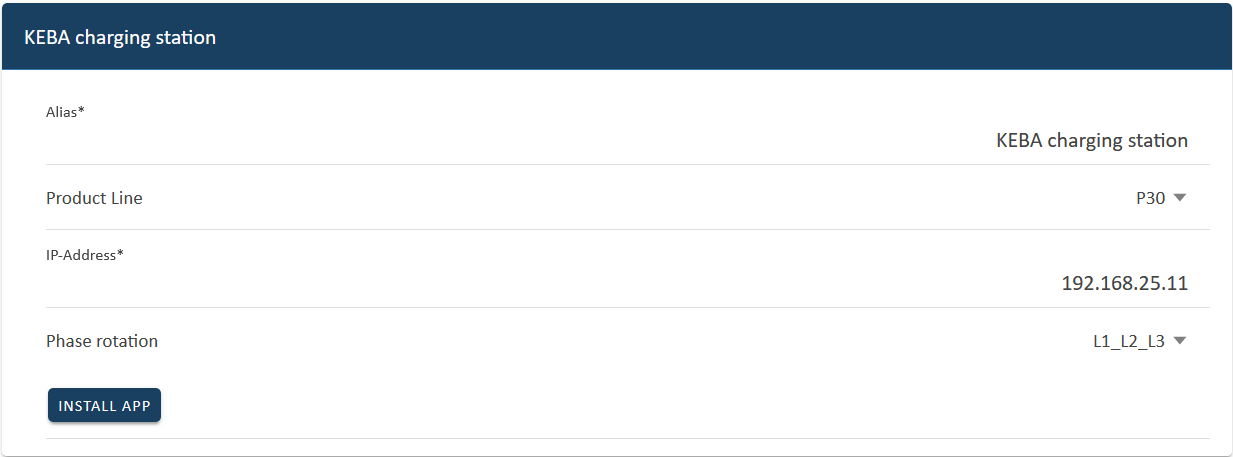
You will then be taken to the installation wizard for Symphon-E App KEBA KeContact.
|
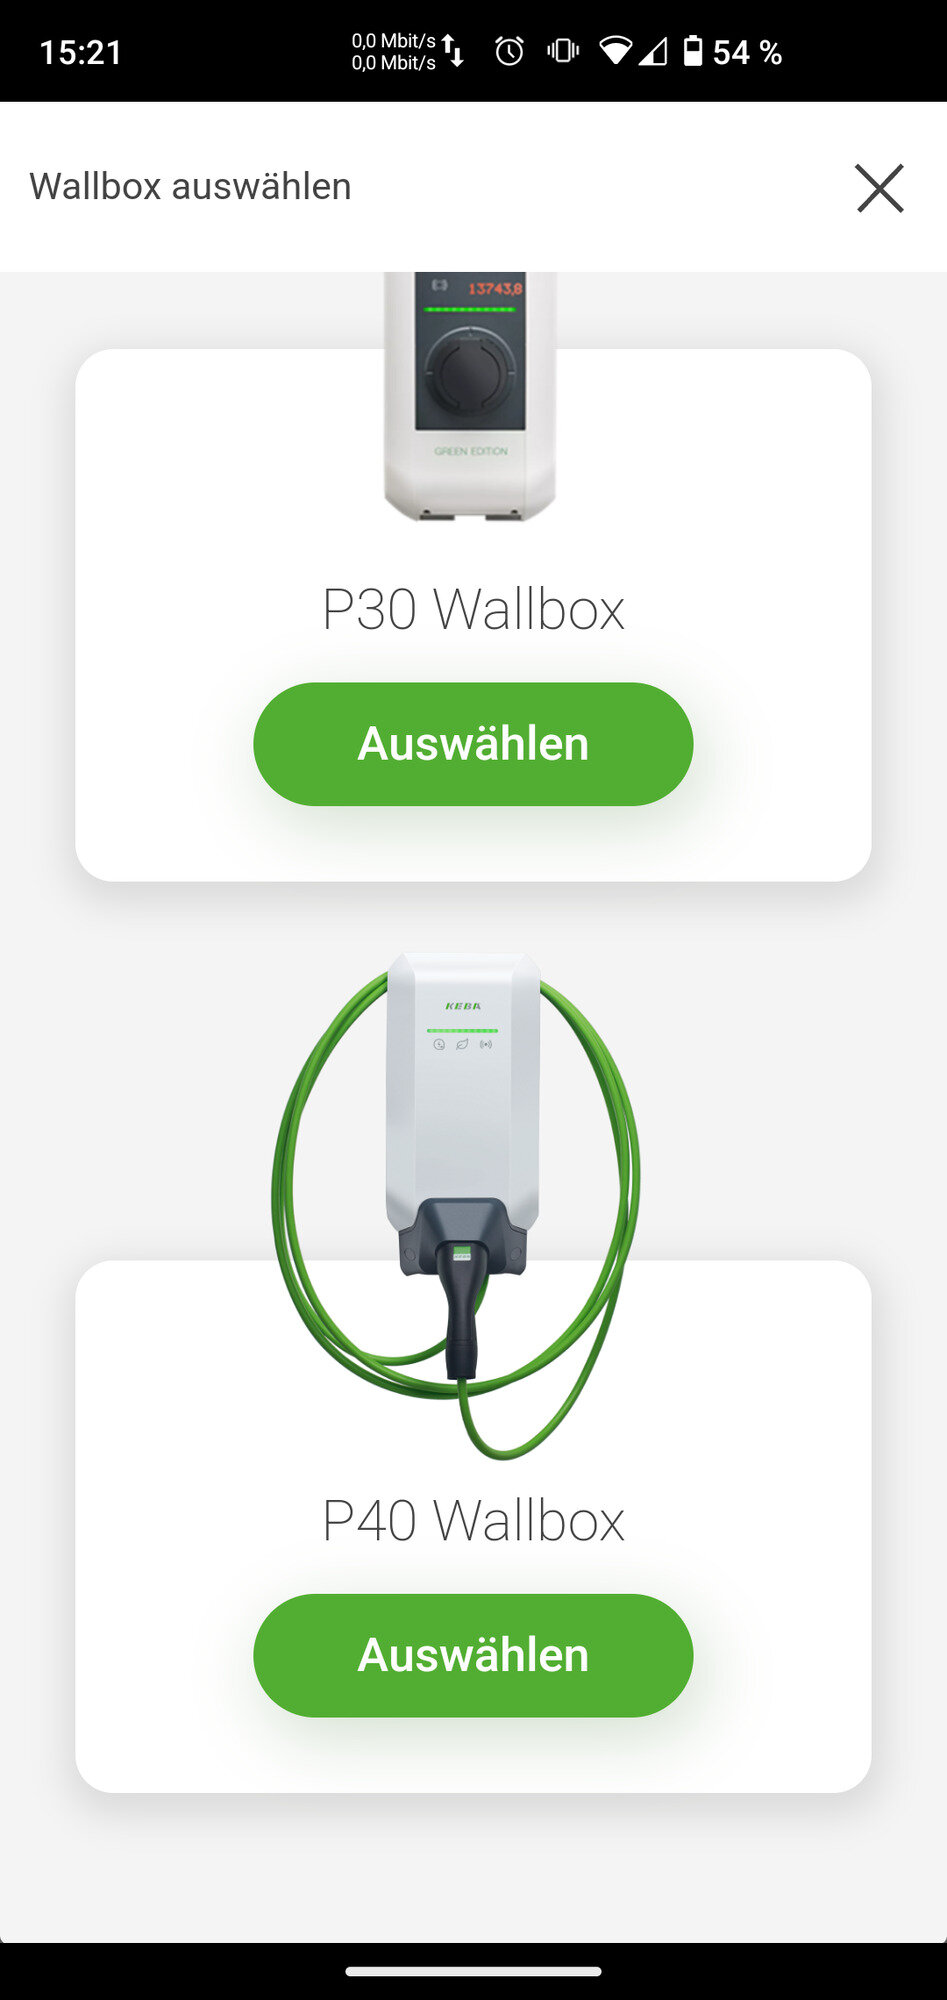
Please select the correct series for your KEBA KeContact under Product series. |
Please select "P40" under product range if you have a KEBA KeContact P40 / P40 Pro.
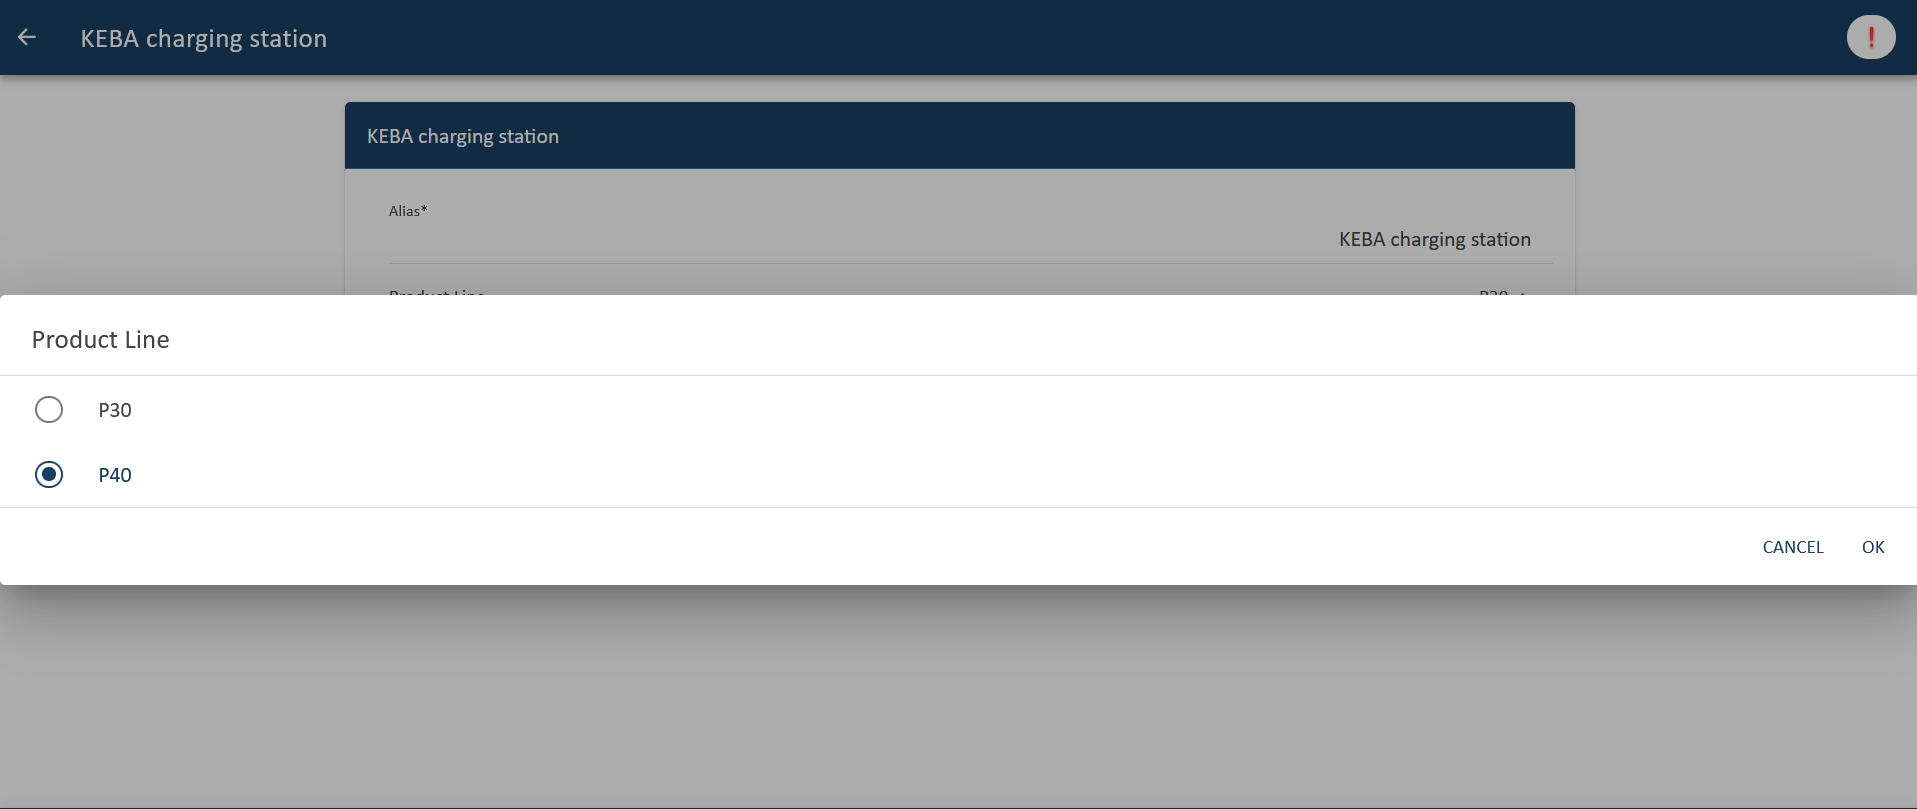
Confirm your selection by clicking the "OK" button.
The installation wizard for the KEBA KeContact P40 / P40 Pro will then be displayed.
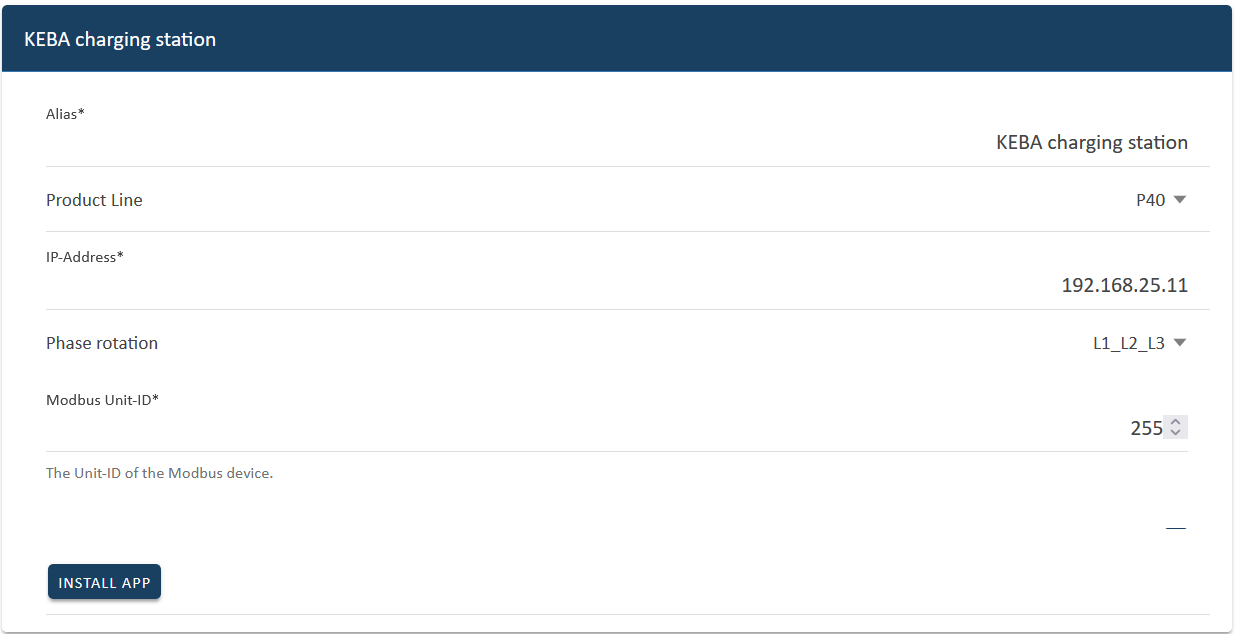
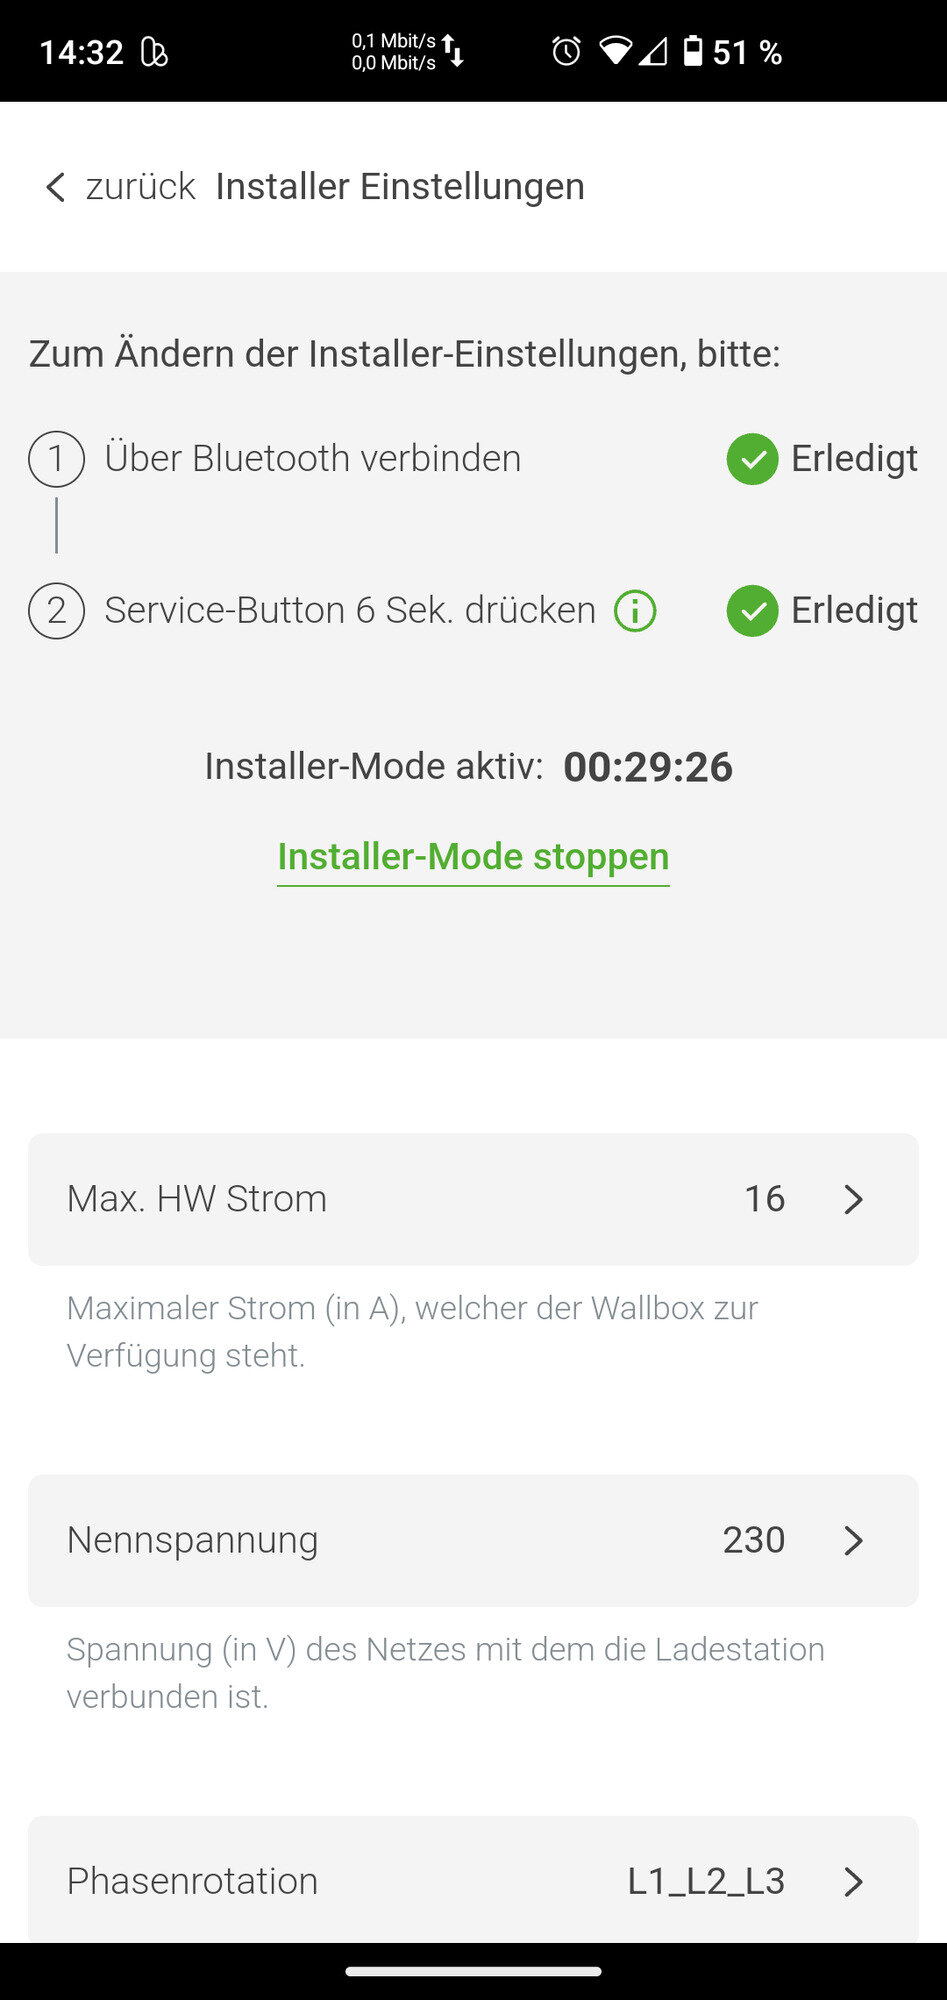
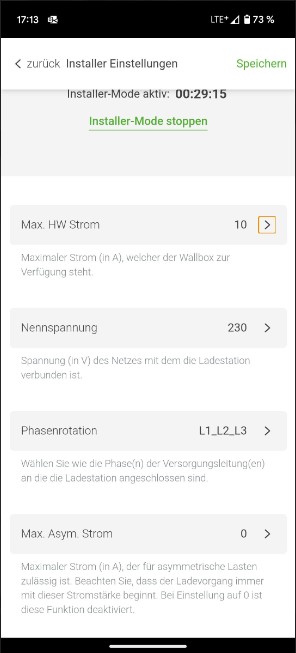
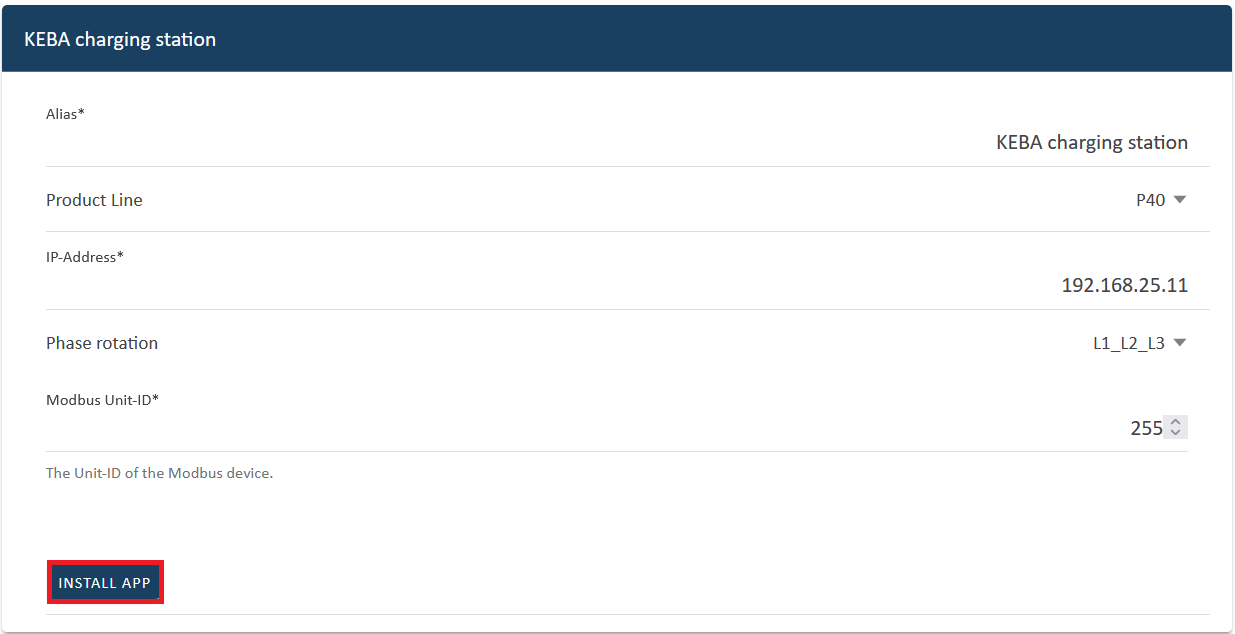
Some of the input fields are pre-filled. Nevertheless, enter your data if it differs from the default values (e. g. IP address). Otherwise, the default values can be retained (e. g. port, Modbus unit ID).
| Mandatory fields are marked with * |
| Check your entries and make sure that they are correct. Otherwise the respective app will not work properly! |
In the next step, you can set a phase rotation.
|
Please note that phase rotation is only included from FEMS release 2024.11.2 or later. |
The phase connection L1_L2_L3 is selected as standard.
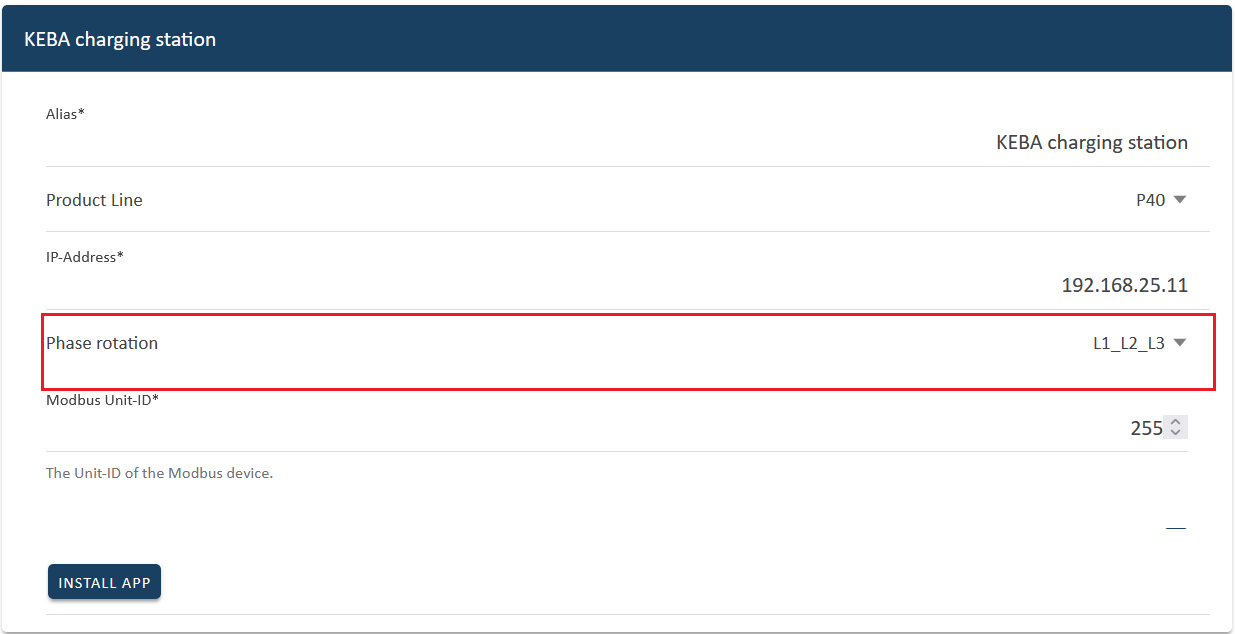
If your phase connection differs from this, you can select a different phase connection using the drop-down button.
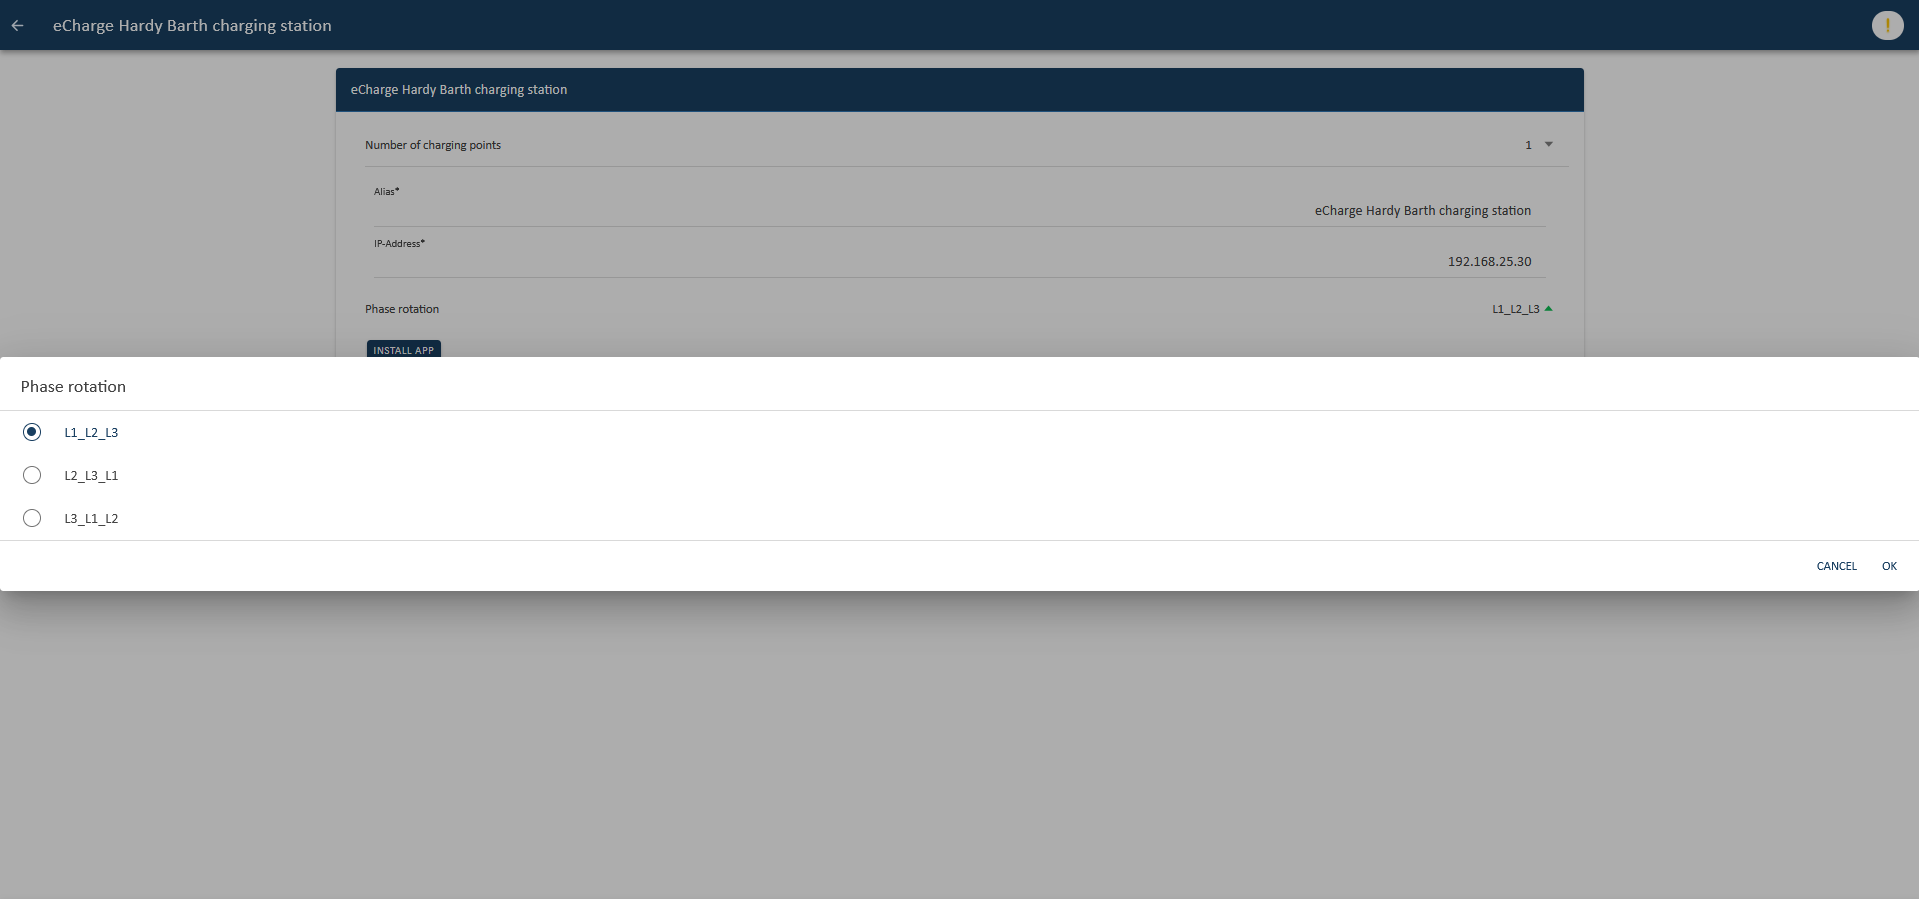
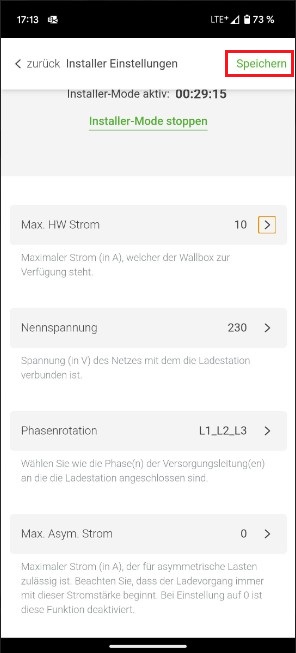
Confirm with "OK".
Then click on "Install app".
Once the installation process is complete, the new app appears in the overview of the Symphon-E App Center in the "Installed" category.
The Symphon-E App KEBA KeContact has been successfully installed.
5.2. Edit EMS app
|
Bereits installierte Apps können nachträglich bearbeitet werden, um Konfigurationseinstellungen zu ändern. Wählen Sie hierzu die jeweilige App in der Symphon-E App Center Übersicht aus und klicken Sie auf die Schaltfläche "App bearbeiten". Eine detaillierte Anleitung hierzu finden Sie im Benutzerhandbuch Symphon-E App Center. |
|
Sollten Sie unter Produkt-Reihe versehentlich das falsche Produkt ausgewählt haben, deinstallieren Sie zunächst die Symphon-E App KEBA KeContact. Wählen Sie hierzu die Symphon-E App KEBA KeContact in der Symphon-E App Center Übersicht aus und klicken Sie auf die Schaltfläche "App entfernen". Eine detaillierte Anleitung hierzu finden Sie im Benutzerhandbuch Symphon-E App Center. Der eingelöste Lizenzschlüssel kann anschließend erneut für die Symphon-E App KEBA KeContact eingelöst werden. |